If you need a quick and dirty way to give a user the permission to start a VM without giving them access to the Azure Portal, Azure Automation Webhooks might help. You basically create a PowerShell script that starts the VM and then you configure the Webhook. The Webhook contains an URL which triggers the exceution of that script. Note that everyone with the URI is able to start the VM, which is not optimal.
Once you have created the Automation Account (easy), configure a new Runbook that starts the VM:
Disable-AzContextAutosave -Scope Process
$subscriptionID = Get-AutomationVariable -Name 'SubscriptionID'
Connect-AzAccount -Identity
Select-AzSubscription $SubscriptionId
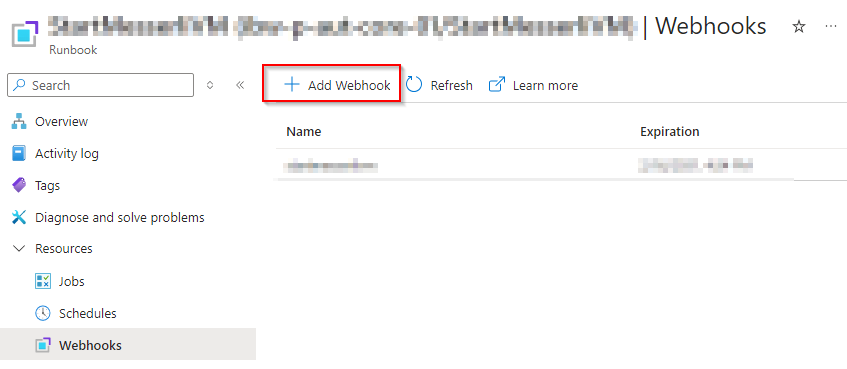
Start-AzVM -ResourceGroupName "rgname" -name "vmname"Configure the WebHook. You will get an URI. Save that URI somewhere, since you cannot view it after being created.
Afterwards, a user can run this line to start the VM:
Invoke-WebRequest -URI "https://xxxx.webhook.webhook.azure-automation.net/XXX" -Method POST -UseBasicParsing
Note: the automation account needs to have Virtual Machine Contributor rights on the resource group or subscription to start the VM.

References:
