If you want to publish your Web App to the internet, you ideally should not directly NAT port 443 (or you custom HTTPS port) to you internal server. Instead, there should be a Reverse Proxy in a DMZ that accepts requests and then routes them to the internal server. You need to configure a Reverse Proxy with nginx or IIS.
Here is how you can do it with IIS.
Install IIS Role in Server Manager (Add Roles and Features > Web Server (IIS)
Download and install URL Rewrite and Application Request Routing (ARR)
https://www.iis.net/downloads/microsoft/application-request-routing
https://www.iis.net/downloads/microsoft/url-rewrite
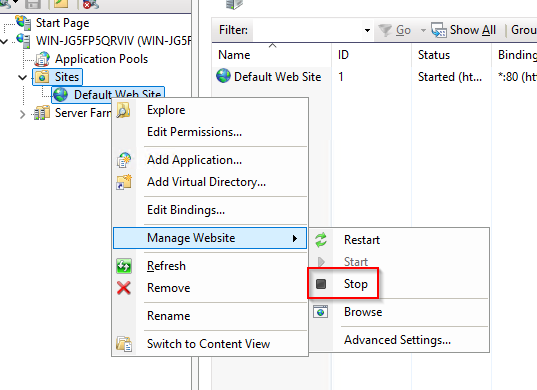
In IIS Manager, stop Default Website:
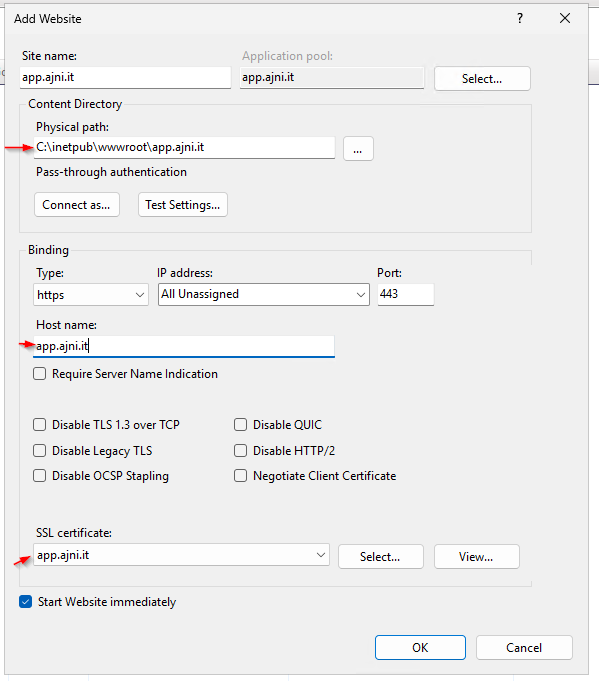
Create a new Website:

Make sure you configure your parameters. The host name should be the public DNS name.
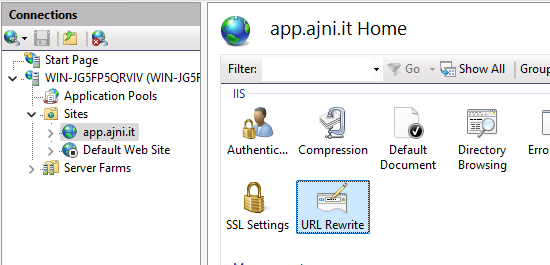
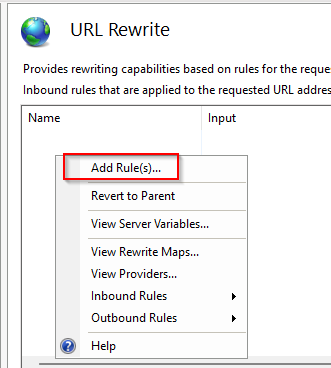
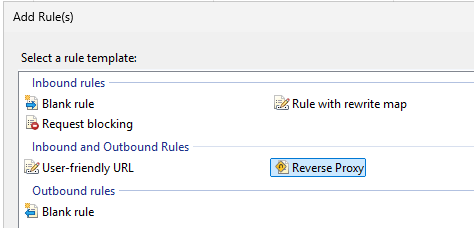
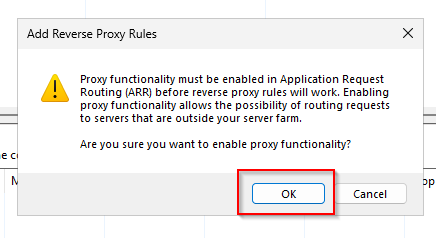
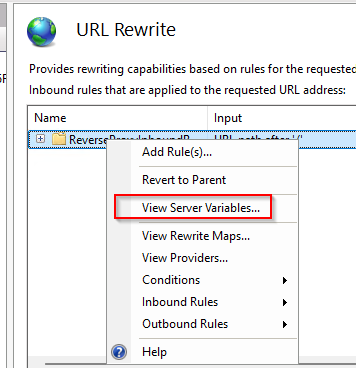
Now open URL Rewrite and create a new rule.
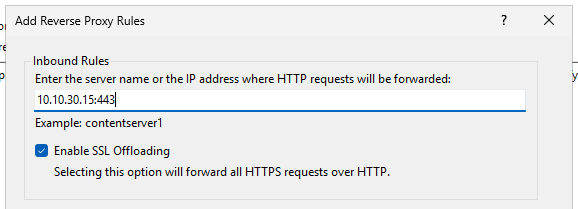
Enter the ip of the internal server along with the port.
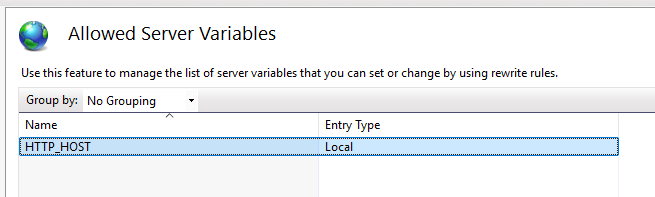
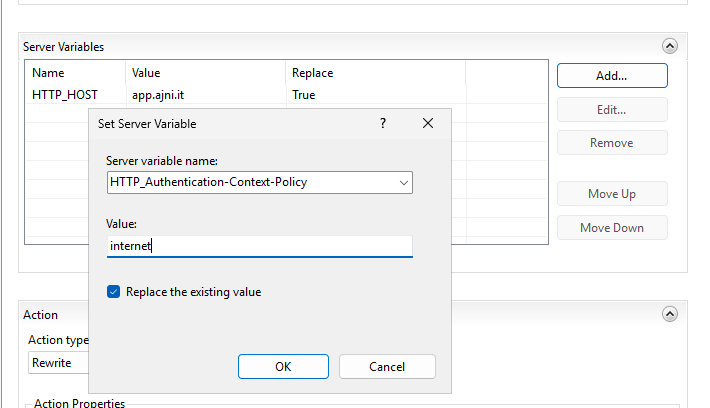
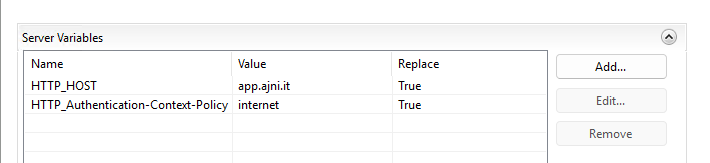
View Server Variables and add HTTP_HOST and HTTP_Authentication-Context-Policy as a variable.
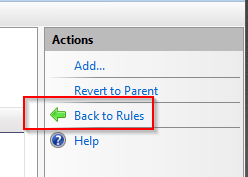
Go back to rules and double click on the rule you just created.

Open server variables and add the application’s host name under HOST_NAME.
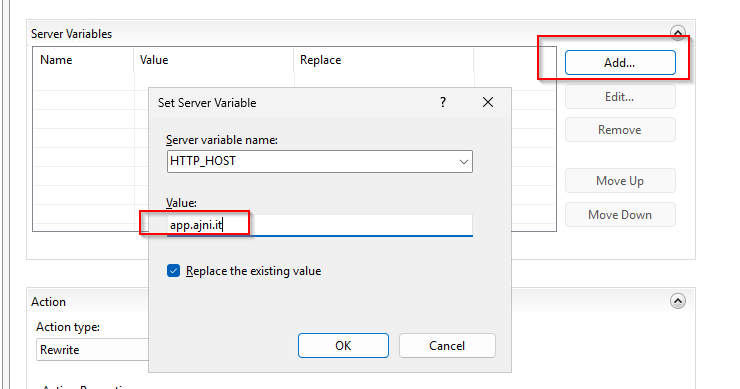
Add another variable with the name HTTP_Authentication-Context-Policy and value of internet
You should have variables.
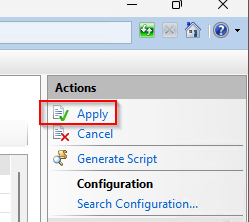
Apply settings at the top right.
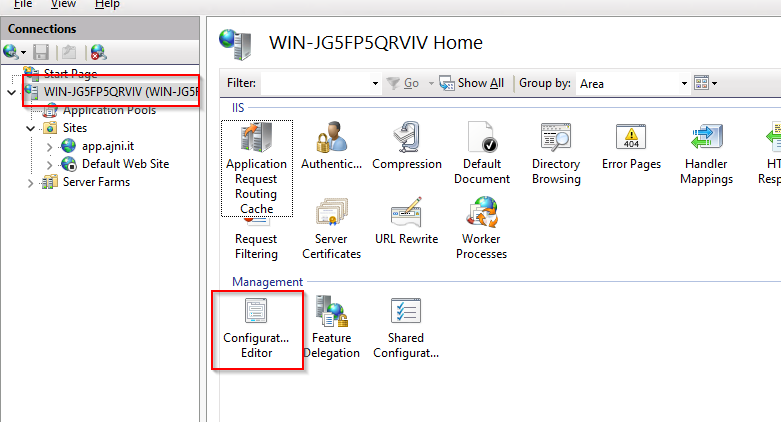
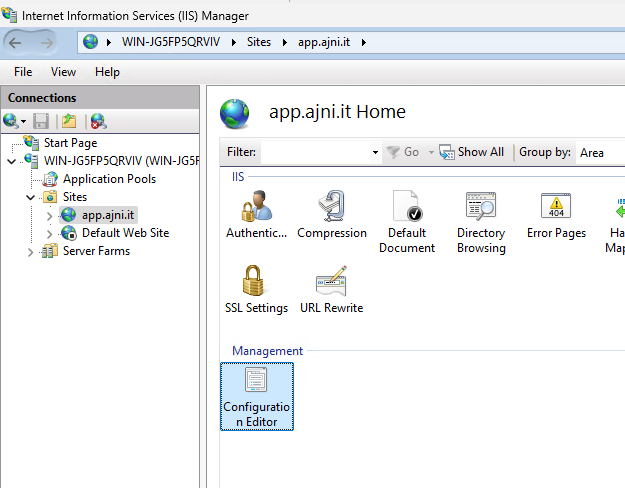
Next, select the server and open Configuration Editor:
Go to section System.Webserver/Proxy
Set preserveHostHeader to true and reverseRewriteHostInResponseHeaders to false

Apply changes at the top right.
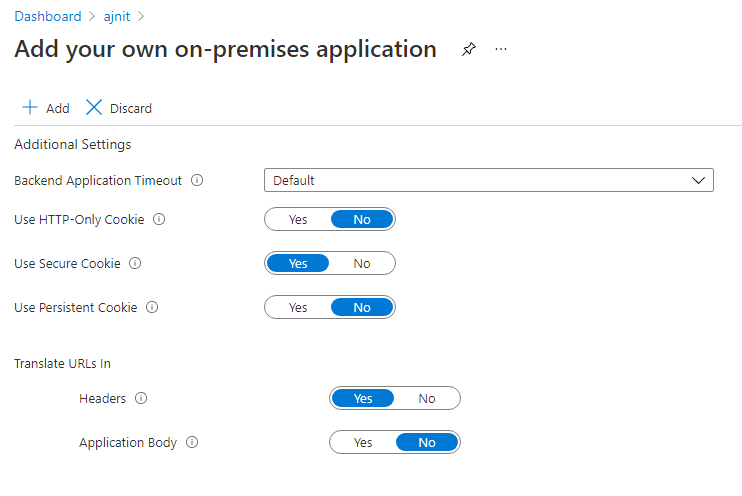
Bonus: Increase timeout if bigger data chunks are sent to the client.
On the site, open Configuration Editor
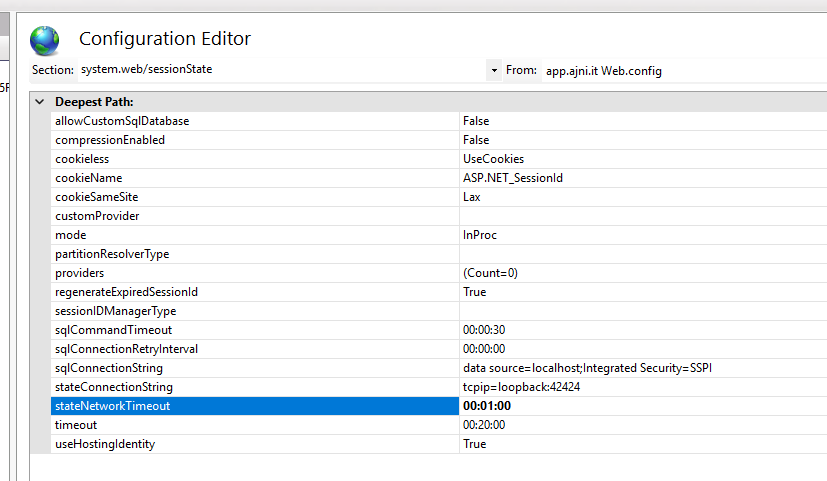
Open Section system.web/Sessionstate
In stateNetworkTimeout increase value to 01:00 or higher.
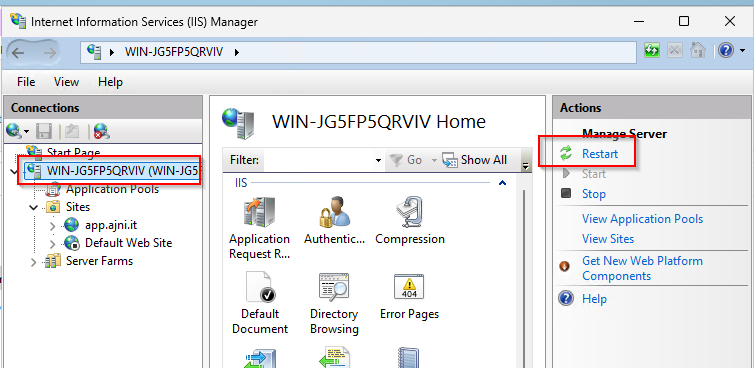
Don’t forger to apply changes and restart IIS.