If you are using Citrix MCS with Azure VMs, you might have noticed that not all the VM SKUs are available to select when creating a new Machine Catalog. With PowerShell, though, you can use any Azure VM SKUs.
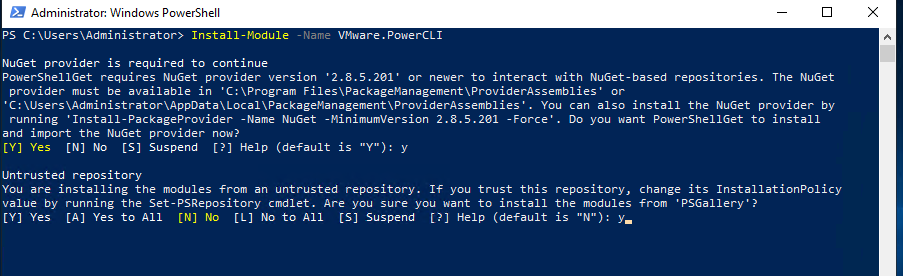
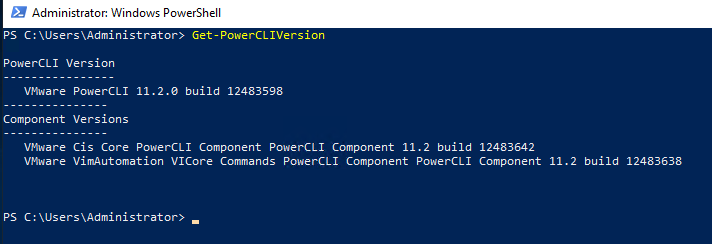
If you are using Citrix Cloud, you have to download and install the Citrix Powershell SDK and login with your Citrix credentials. Optionally you could download an API client and authenticate with those credentials.
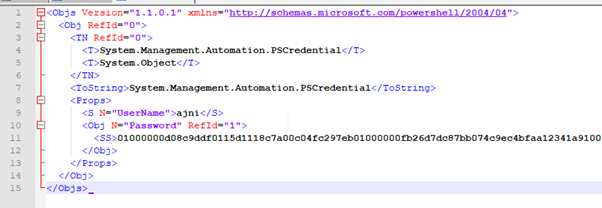
The secure client can be downloaded under Identity and Access Management > API Access > Create client. The customer id will also be shown on that page.
You authenticate with the API client this way:
Set-XDCredentials -CustomerId “customername” -SecureClientFile “C:\temp\secureclient.csv” -ProfileType CloudAPI
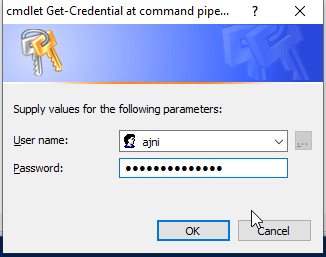
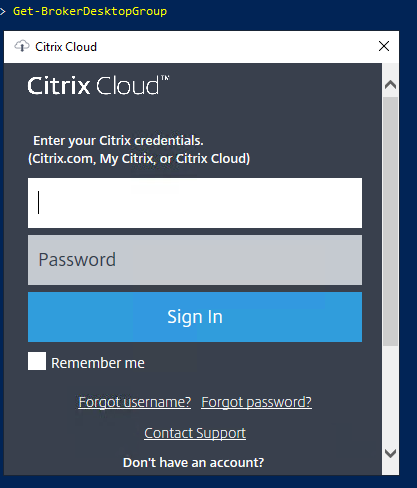
Otherwise, without API credentials, after executing the first command, you will be asked to insert your Citrix credentials:
Now the commands to change the Citrix MCS VM type.
Get-ProvScheme -ProvisioningSchemeName “CatalogName”
Take note of the folder name after XDHYP:\HostingUnits\ under MasterImageVM.
This command will register the virtual drive XDHYP:\ in PowerShell:
Set-HypAdminConnection
Insert that folder name in this command:
Set-ProvScheme –ProvisioningSchemeName “CatalogName” –ServiceOffering “XDHyp:\HostingUnits\Foldername\serviceoffering.folder\Standard_NV4as_v4.serviceoffering”
Delete and re-create the VM. The right VM type will be then used.