As a normal user without admin rights, you can theoretically kill the Windows Guest OS (for example if you are connected through Citrix or Remote Desktop Services) by safely removing the VMXNET3 adapter on the bottom right. This is very bad and is apparently “by design”.
To hide the icon proceed as folow:
With the VM powered off, click Edit Settings > Options > General and configuration parameters. Add row and then type devices.hotplug. As a value insert FALSE. You can then power on your machine.
Having performance problems when deleting one single file or folder? File Explorer takes 2-3 seconds to “calculate” something before deleting? Deleting automatic destinations might help you out. I had a case where this file was 4MB big, which is a lot for only text/paths.
Updating VMware Tools on a Citrix Provisioning Master Image used to be very time consuming. Nowadays it has gotten a little better, but you still have to do a few extra steps because of the vmxnet3 network adapter. Here are the steps that I took when upgrading to the newest Vmware Tools that came with ESXi 8.0 update.
Start the Master VM
Once booted up, add a new E1000E network card
Check in device manager if the E1000E/Intel network card can be seen
Shutdown VM
In the Provisioning console, change the mac address of the target device to that of the E1000E network card
Disconnect vmxnet3 NIC (uncheck connect on power on)
Start Master VM. Beware that the E1000E NIC is emulated and is painfully slow. I had instances where it took 15 minutes to boot up!
Once booted up, start VMware Tools upgrade through Vcenter (interactive)
Visual C++ Redistributable might be installed, you might need to reboot
Let boot
Start Vmware Tools upgrade again (interactive)
Run the installer
Shutdown VM
Disconnect E1000E NIC (uncheck connect on power on)
Connect vmxnet3 NIC (check connect on power on)
Boot
Once booted, fully remove E1000E fully
In device manager, show hidden devices and delete the greyed out Intel NIC
This time there are no references. I had to try and error myself.
When an Exchange Online user has access to a shared mailbox through full access permissions, he can reply on behalf of that address. The problem is that, by default, emails sent as the shared mailbox are saved in the user’s main mailbox instead of the delegated mailbox. To fix that you have 2 options:
Option 1: Use Exchange Online Powershell
For emails sent as the shared mailbox (Full Access)
In this article we are going to configure password change through Citrix Netscaler, which is very handy nowadays that a lot of people work from home and are rarely in the office. The steps are very simple but you should always think what the impact of the change could be before blindy following my screenshots.
You can also insert multiple Subject Alternative Names separated by comma, that might include two or more Domain Controllers like in the example above.
Testing can be done with lpd.exe, make sure that the newly generated certificate is also placed in the Trusted Root Certificate Authorities.
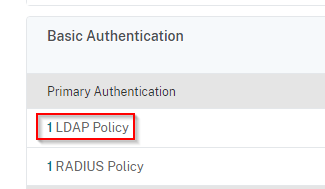
In Citrix Netscaler go to Citrix Gateway > Virtual Servers > Select the VIP > Primary Authentication > Select the LDAP Policy:
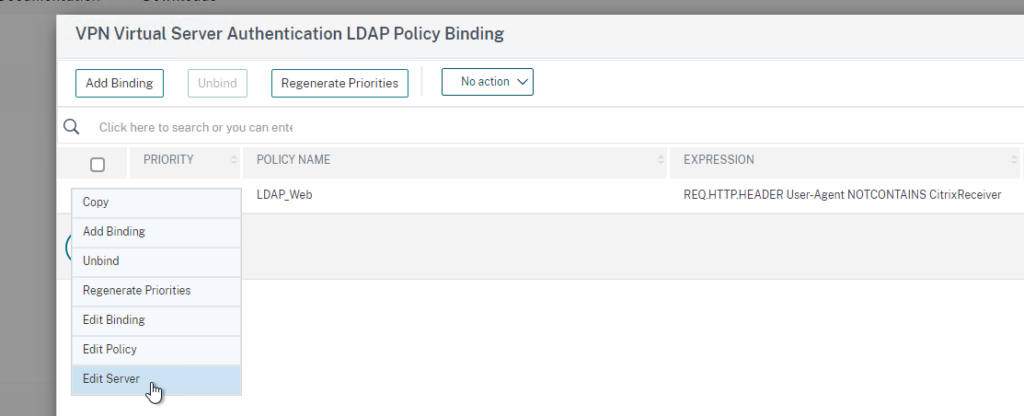
Edit Server
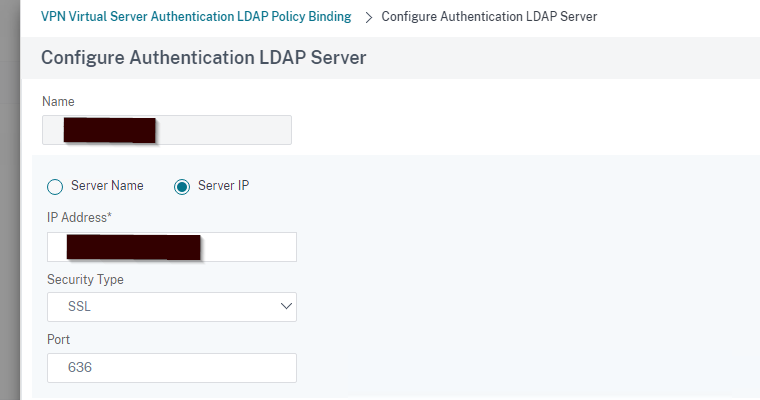
Select SSL under Security Type and Port 636
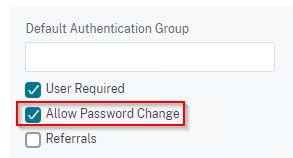
Further down, select Allow Password Change.
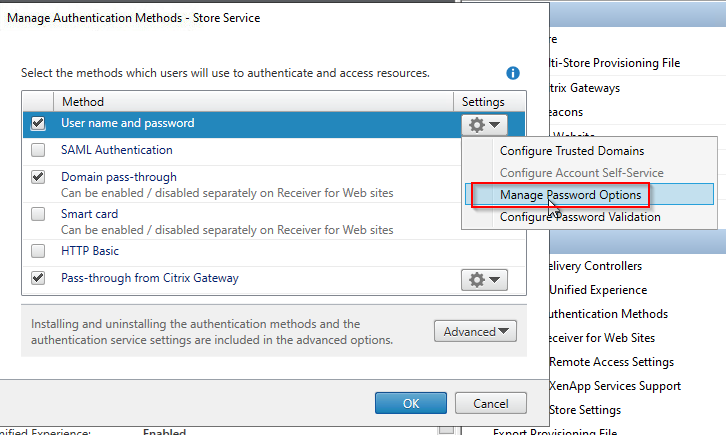
In Citrix Storefront, make sure Password Change is enabled:
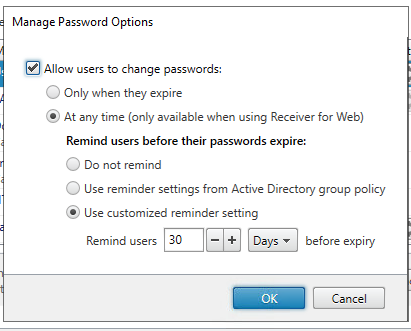
The password reminder can also be enabled.
That’s it. Make sure your NetScaler Config is saved!