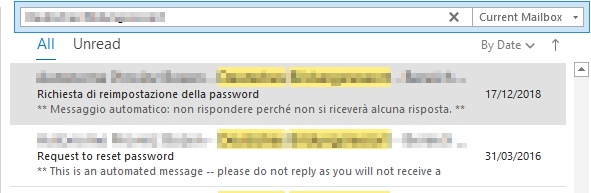
Today my free SSL certificate expired, so I decided I could guide you to claim yours as well.
You will generate a Certificate Signing Request (CSR) on your local machine (I have a Linux VM hosting my site on Apache2), send the request to www.sslforfree.com and after that download your new signed certificate.
The process of obtaining a certificate is very simple and painless, however there is a catch: these kinds of certificates usually have a validity period of 4 months. Which means you have to renew it every so often.
Like mine here:
So let’s get started.
Generating your Certificate Signing request with openssl
First of all, you will need a config file, which contains all of the certificate’s attributes. Mine is named ajni.conf. Here is the content of the config file. I have highlighted the attributes you need to adapt based on your environment.
[ REQ ]
default_bits = 2048
prompt = no
encrypt_key = no
default_md = sha256
distinguished_name = dn
req_extensions = req_ext
[ DN ]
CN = ajni.it #Common Name
emailAddress = ajnik@outlook.com
O = Non Profit #Organization
OU = Ajni #Organizational Unit
L = Meran #Locality
ST = Suedtirol #State
C = IT #Country
[ REQ_EXT ]
subjectAltName = DNS: www.ajni.it, DNS: ajni.it
Now that you have a config file, you can execute the openssl command to generate a CSR. Once again, I have marked the variables.
openssl req -new -config ajni.conf -keyout ajni_key.pem -out ajni.csr
Copy the content of your CSR (in my case ajni.csr) somewhere for later use. The string should have the following format
—–BEGIN CERTIFICATE REQUEST—-
dUKFAPtXm076zSFdoriy4v7p1Xa4N9nteRxkbi66bK0GqsqoeoUMprOOoOLMwzPOlvkLS0= dUKFAPtXm076zSFdoriy4v7p1Xa4N9nteRxkbi66bK0GqsqoeoUMprOOoOLMwzPOlvkLS0=
—–END CERTIFICATE REQUEST—–
Send your CSR to SSLforFree.com
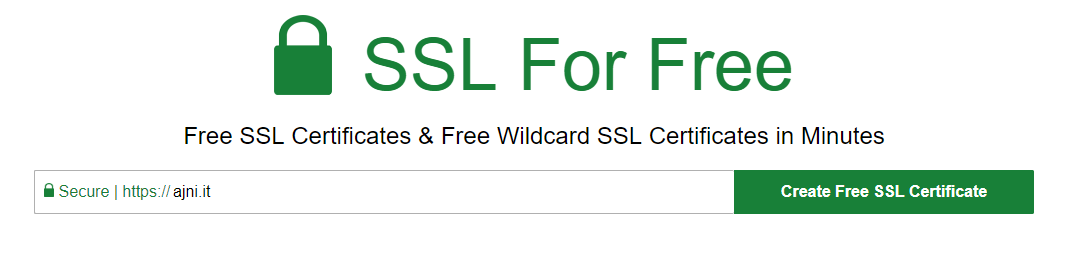
Go to www.sslforfree.com, insert your domain name and hit Create Free SSL Certificate
You have 3 options to prove to SSLforFree that the domain belongs to you:
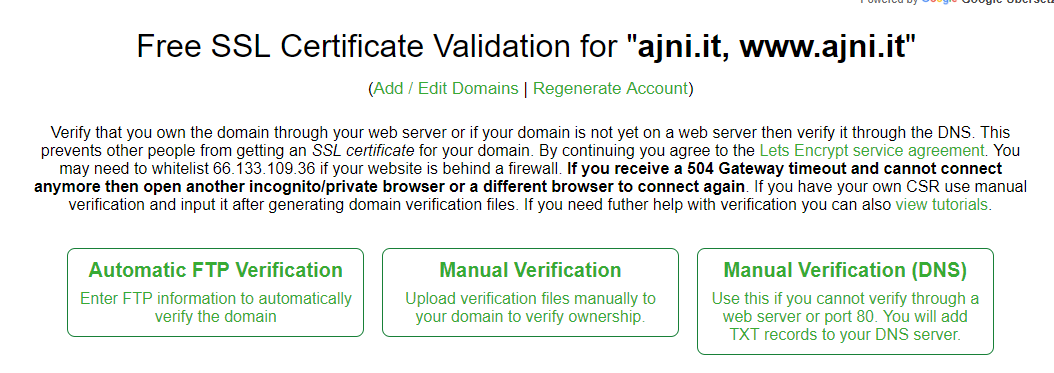
I chose to use the DNS verification (option 3). You will need to create 2 TXT records on your domain (for domain.it and for www.domain.it).
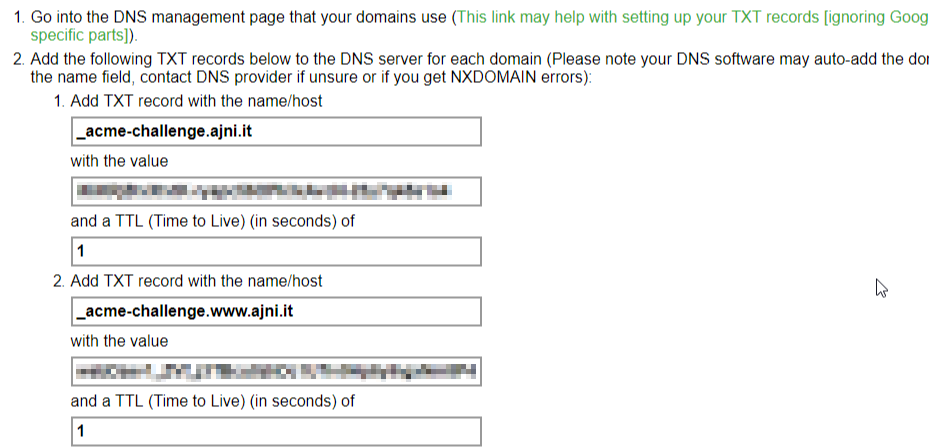
Once you have added both TXT records you can proceed to download the certificate. Select “I Have My Own CSR”, since you created one with openssl. It is, from a security standpoint, safer than letting SSLforFree create a private key for you.
Note that DNS records can take some time to replicate, so you might need to wait a few minutes before downloading the certificate.
You can verify the records at https://mxtoolbox.com/SuperTool.aspx.
The verify link on www.sslforfree.com didn’t always work for me.
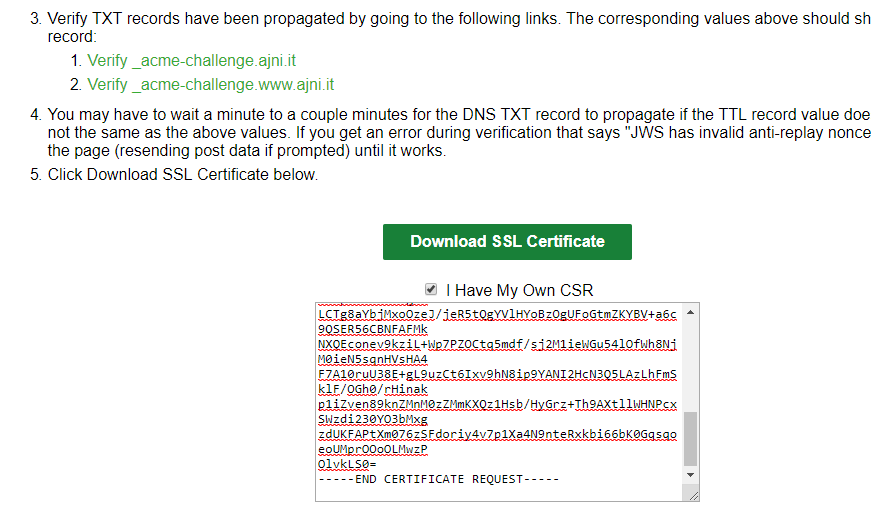
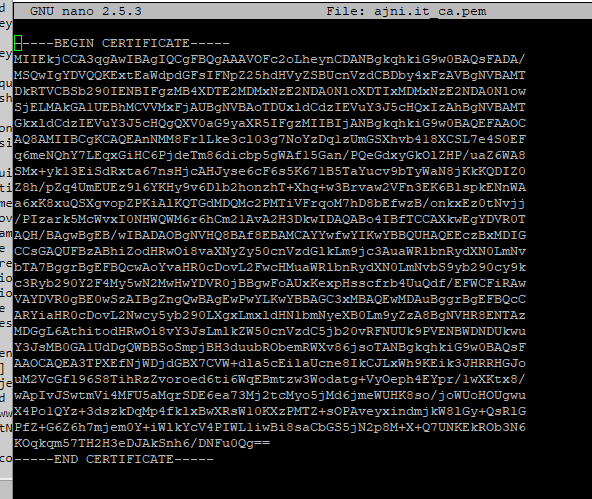
Now copy the content of the public certificate itself and the CA Bundle (which contains the Root and Intermediate Certificate).
You will need them in order for the browser to trust your site/certificate.
Create 2 more text files, each containing the content of the 2 certificates. The files need a .pem extension:
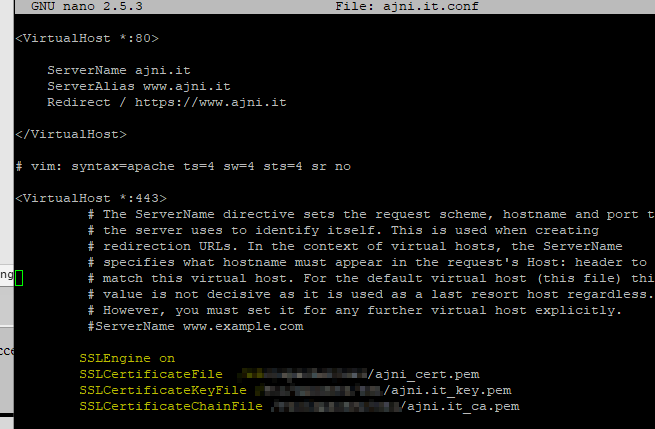
Modify your Apache2 config file
At this point you have 3 files in total: your public certificate, your private certificate and your CA certificate. Now change the config file of your apache virtual site under /etc/apache2/sites-enabled/domain.conf or default-ssl.conf.
The relevant parameters are SSLCertificateFile, SSLCertificateKeyFile and SSLCertificateChainFile. Set the path of your files. For example, /etc/apache2/cert.pem. You might need to enable the SSL apache2 module.
The www-data user needs read permission on those files.
a2enmod ssl
Restart Apache2
Lastly, restart the apache2 service
service apache2 restart
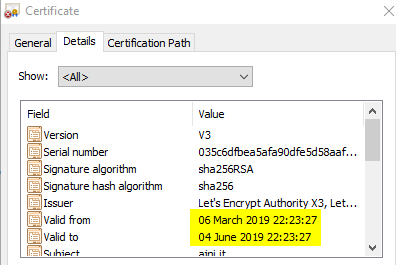
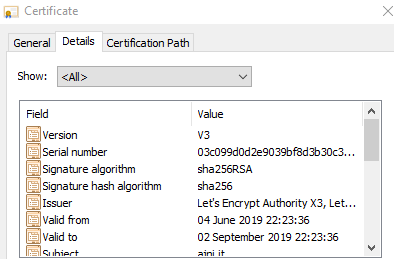
One browser refresh and my site has already the new certificate:
If you have any questions feel free to comment down there, I will happily assist you.
Cheers!