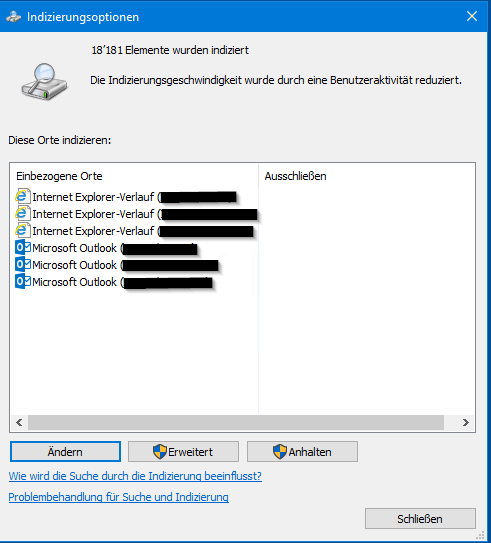
If you have users complaining about incomplete search results on RDS Server 2019, especially in Outlook, this registry key might fix the problem. It did fix mine.
This will create the index database under C:\ProgramData\Microsoft\Search\Data\Applications\Windows rather than in the user’s AppData folder. It should look something like this:
Getting started with Microsoft 365/Exchange Online in 2021 is very easy and relatively cheap (I am paying 5 bucks a month for one mailbox and some extra stuff, like 1 TB of OneDrive storage).
Roughly speaking, here are the high level steps from beginning to end:
Create your subscription
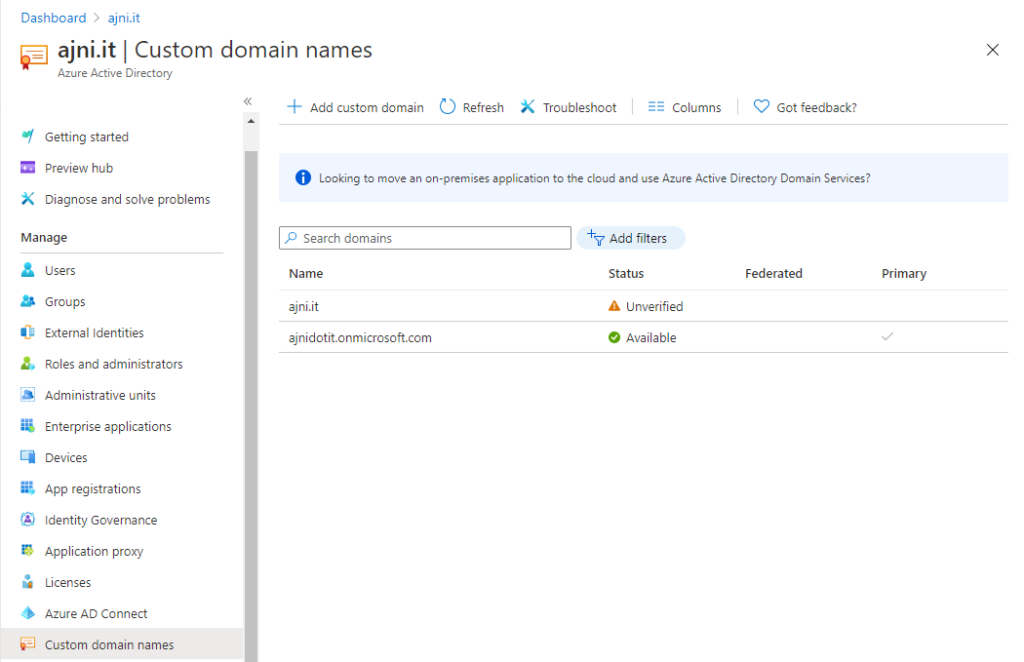
Add a custom domain
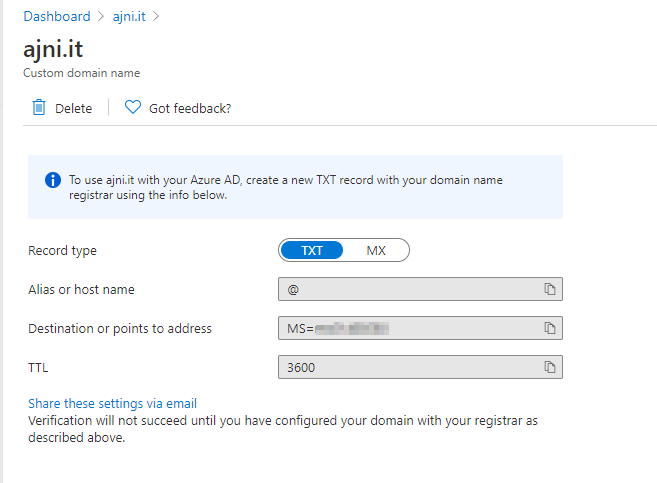
Verify the domain
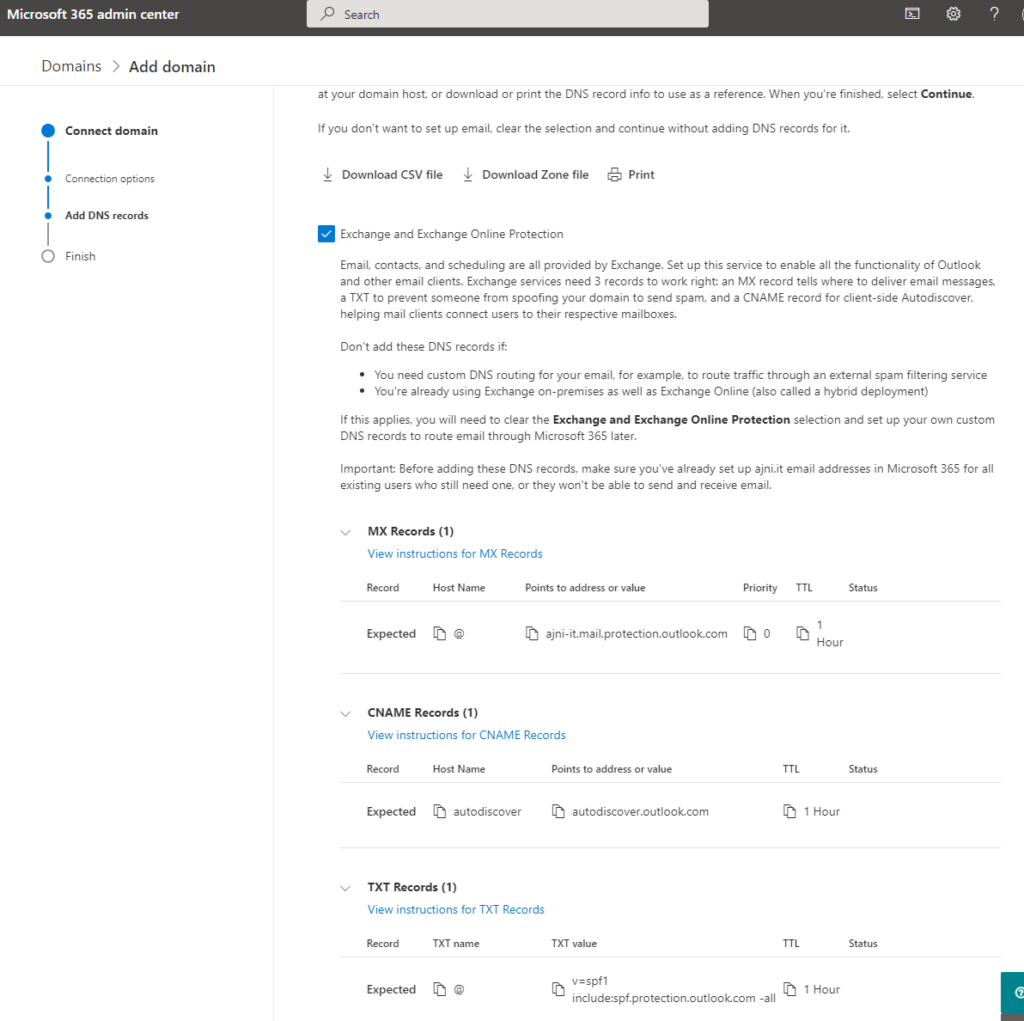
Add DNS entries for MX, Autodiscover, and SPF
Create users
License users
Wait some minutes to see the mailbox in Exchange Online
Add account in Outlook
After creating your tenant (easy to do, you can also work with a third party, instead of buying the subscription directly off of Microsoft), open https://admin.microsoft.com and select Azure AD. Unser Custom domain names, add the organization’s domain.
You verify the domain by adding a TXT record to at the root of your domain. You could also verify by MX record, but usually the organization has some sort of functioning mail product, so in a migration scenario that is not an option.
@ means the root of your domain. In my case ajni.it
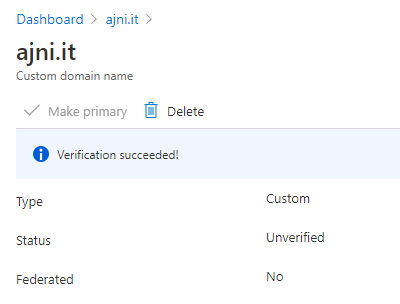
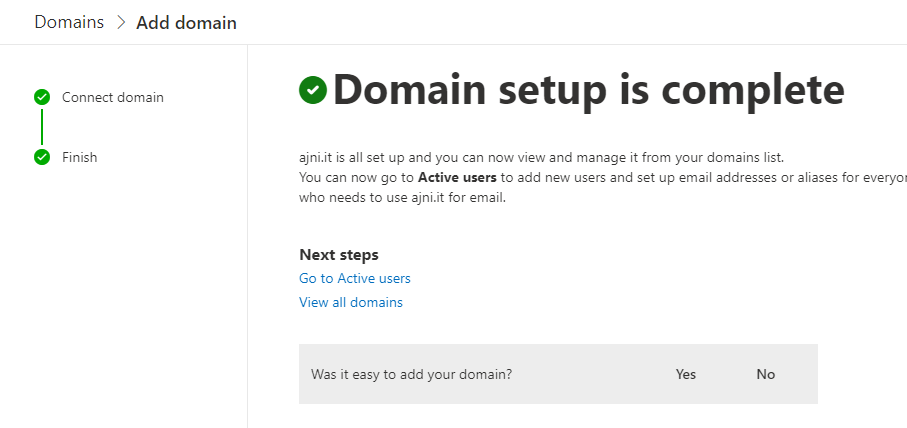
Due to DNS Time To Live (TTL) and caching, this might take some time.
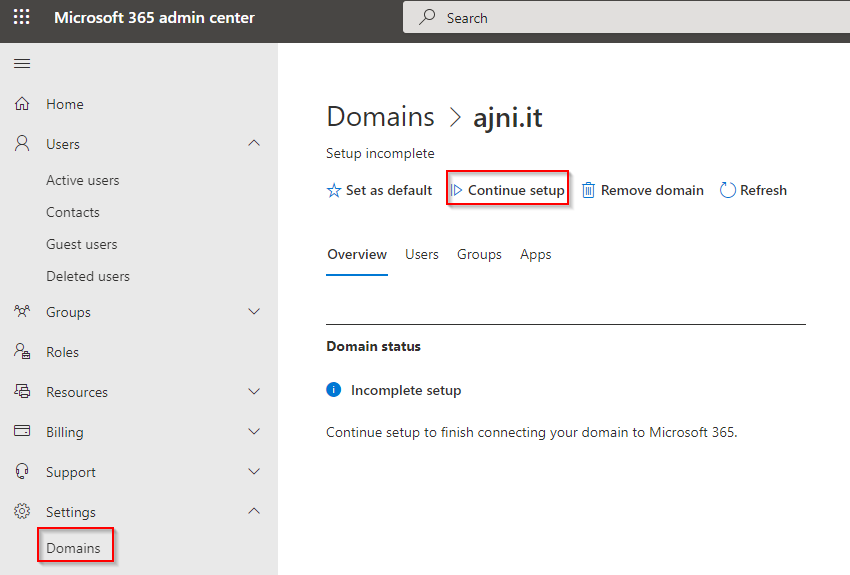
Back to the Microsoft 365 Admin Center, under Settings > Domains select the newly added domain and then Continue setup. Add the 3 records to your DNS.
Select Add your own DNS records. For mailing, Exchange Online and Exchange Online Protection records are needed.
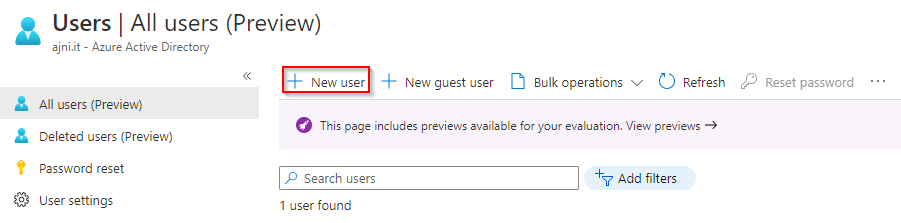
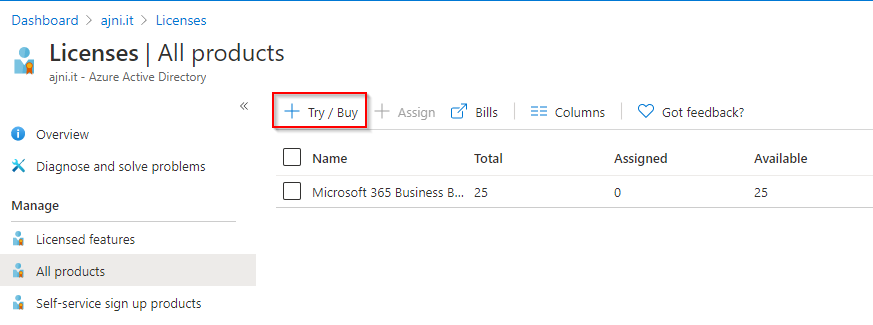
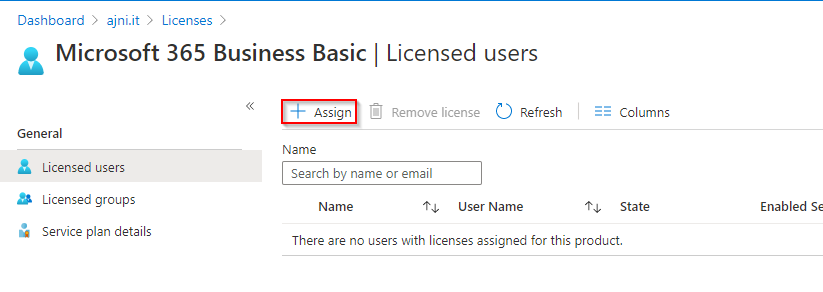
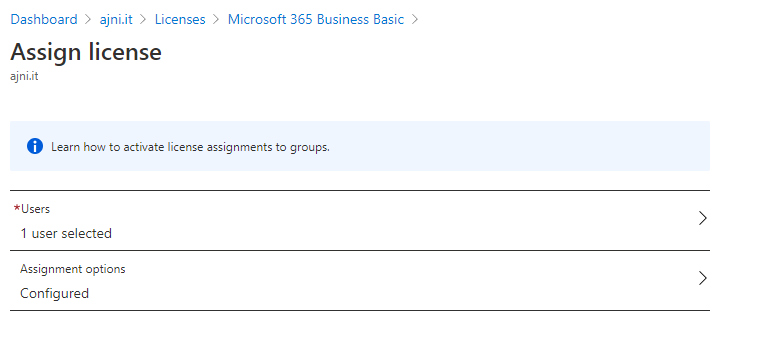
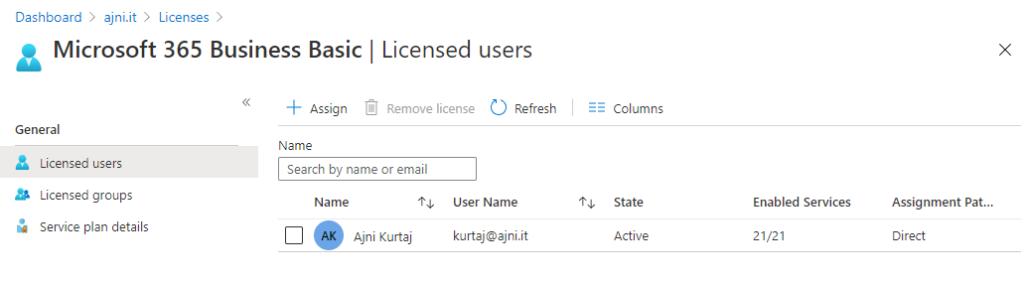
After correctly adding DNS records for Exchange Online, add a user in Azure Active Directory and assign the license. Very straightforward. Set usage location to your organization’s country. If you do not specify a usage location, licenses cannot be assigned to that user.
Under License the license can be assigned.
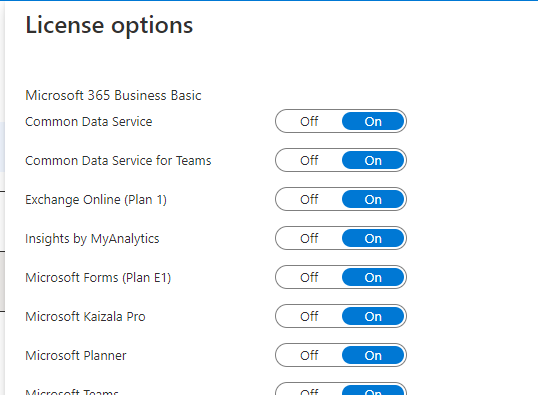
You could also choose to selectively assign certain products of the subscription. Either way one license will be burned.
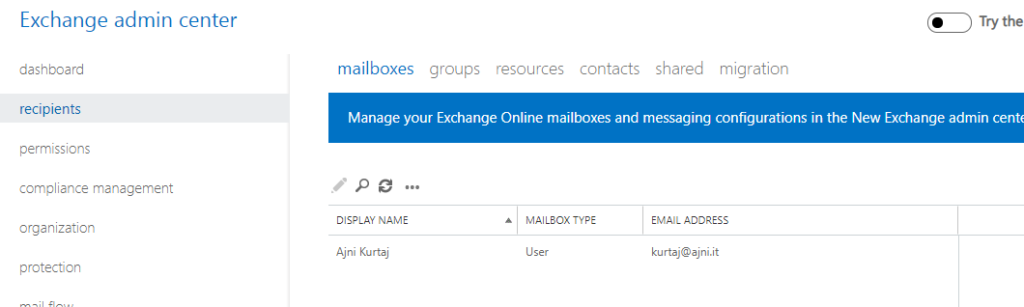
It takes some minutes for the mailbox to show up in Exchange Online after assigning the license.
From now on, the account can be added in Outlook or accessed through Outlook on the Web https://outlook.office365.com
Apache Virtual Hosts are great because they let you host multiple websites on the same server. The public IP address can also be re-used – Apache knows, based on the HTTP host header, which website to show.
But have you considered this scenario? website1.com gets compromised and some malicious person has access to the server. What can they do? Most certainly they have access to every other website on the server because, by default, every Virtual Host runs under the same user www-data. Fortunately, there is a module that allows us to use different users for every Apache2 Virtual Host called apache2-mpm-itk.
It is very easy to install:
apt-get install libapache2-mpm-itk
a2enmod mpm_itk
If you face any issues, disable mpm-prefork and try enabling mpm_itk again.
a2dismod mpm_prefork
Now, in the Virtual Host config file, insert these lines (user www-site1 and group www-site1):
If you are using Citrix MCS with Azure VMs, you might have noticed that not all the VM SKUs are available to select when creating a new Machine Catalog. With PowerShell, though, you can use any Azure VM SKUs.
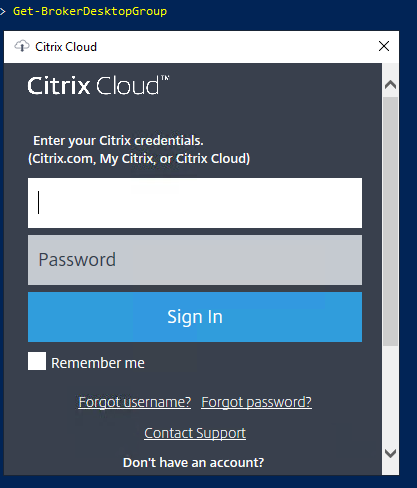
If you are using Citrix Cloud, you have to download and install the Citrix Powershell SDK and login with your Citrix credentials. Optionally you could download an API client and authenticate with those credentials.
The secure client can be downloaded under Identity and Access Management > API Access > Create client. The customer id will also be shown on that page.
Normally, adding an Availability Set after the VM has been deployed is not possible. You would have to delete the VM, leaving the NIC and OS disk intact and then re-creating the VM with the Availability Set. Of course that can be done manually, but there is a PowerShell script that does this all for us.
This can be all done in the Azure Cloud Shell, you do not have to install the PowerShell Module on a Windows Machine.
Add-AzureRmAvSetVmToAvailabilitySet -ResourceGroupName “myRg” -VMName “VM01” -OsType windows -AvailabilitySet “myAs”
This will stop the VM if it is running, delete the VM item (leaving the NIC and OS disk intact) and re-create that with the same VM size inside the newly created Availability Set.