Normally, with an Office 365 mailbox, you can only send mails with the primary email address. Sending from aliases was not allowed. Microsoft recently rolled out this feature which can be enabled through Exchange Online PowerShell:
Alternatively, you can add the DWORD ZeroConfigExchangeOnce 1 key to automate the creation of the first profile. Successful profiles have to be created manually.
The first step in the journey to the cloud is to install and configure Azure AD Connect. This will synchronize users in local Active Directory to Azure AD and will allow you to use cloud services like OneDrive For Business, Sharepoint Online, Exchange Online, or Microsoft Teams.
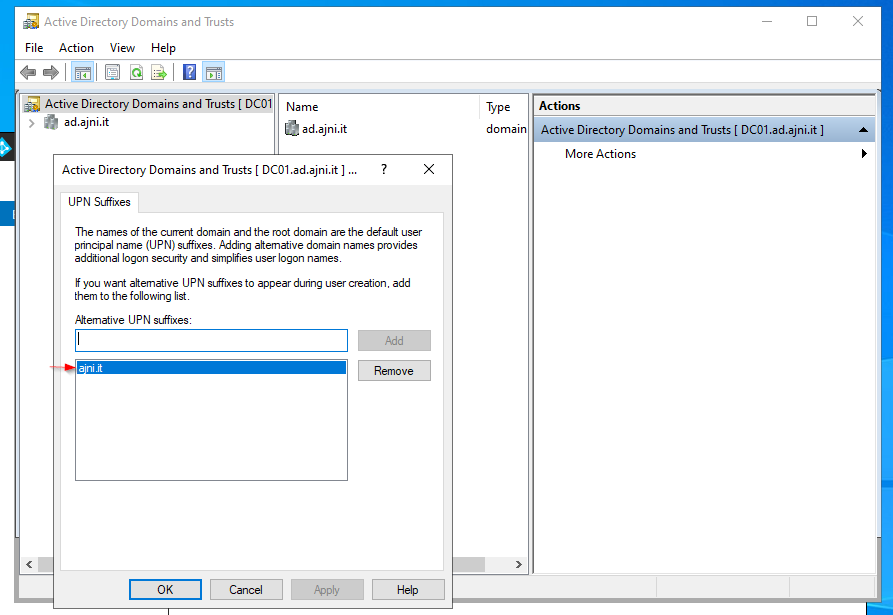
Before installing the service itself, we have to set an alternate UPN suffix as in Azure AD. In Active Directory Domains and Trusts add a new UPN suffix. The suffix should be equal to the custom domain name in Azure AD.
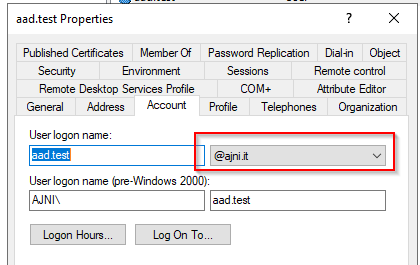
Users synchronizing to Azure AD should have that UPN suffix set:
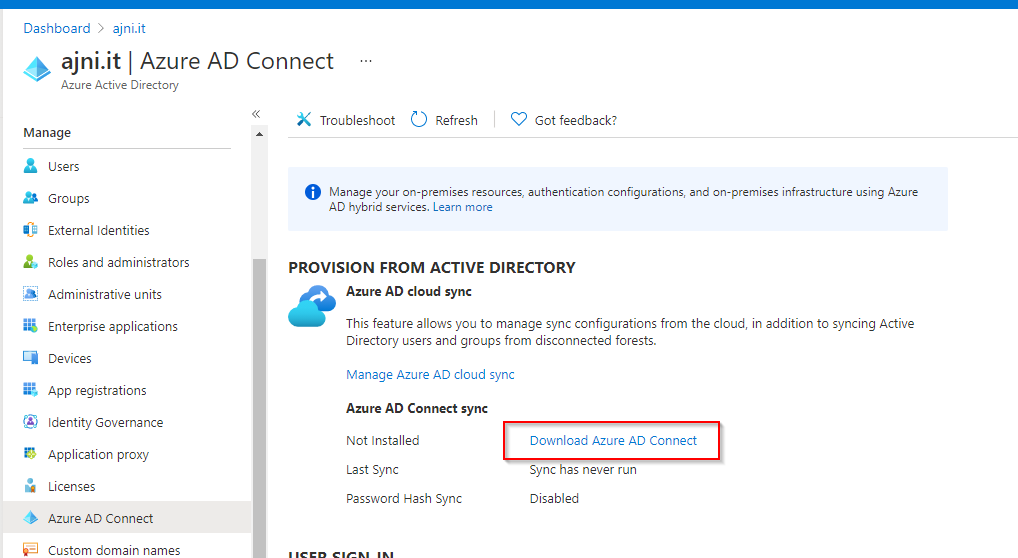
In the Azure AD panel, select Azure AD Connect and then “Download Azure AD Connect”
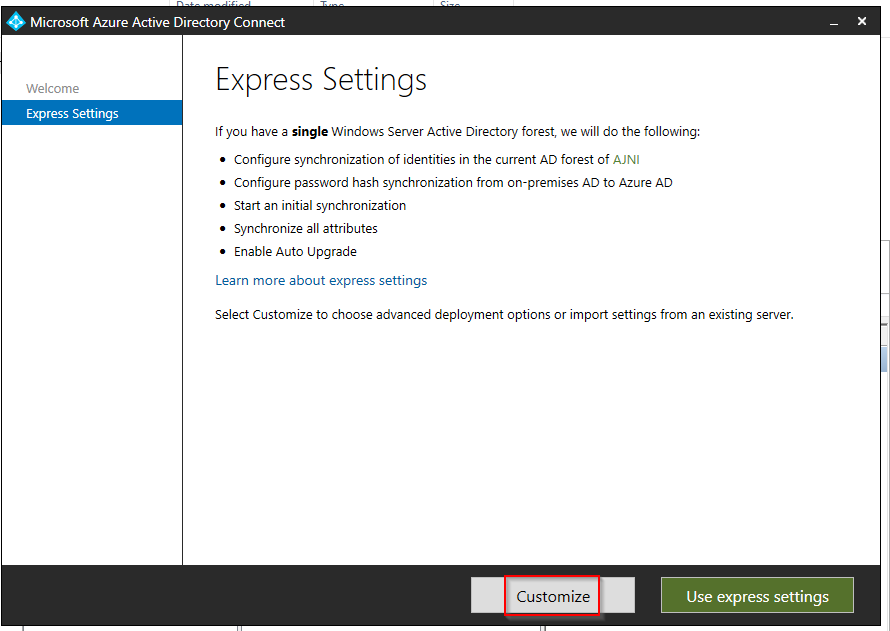
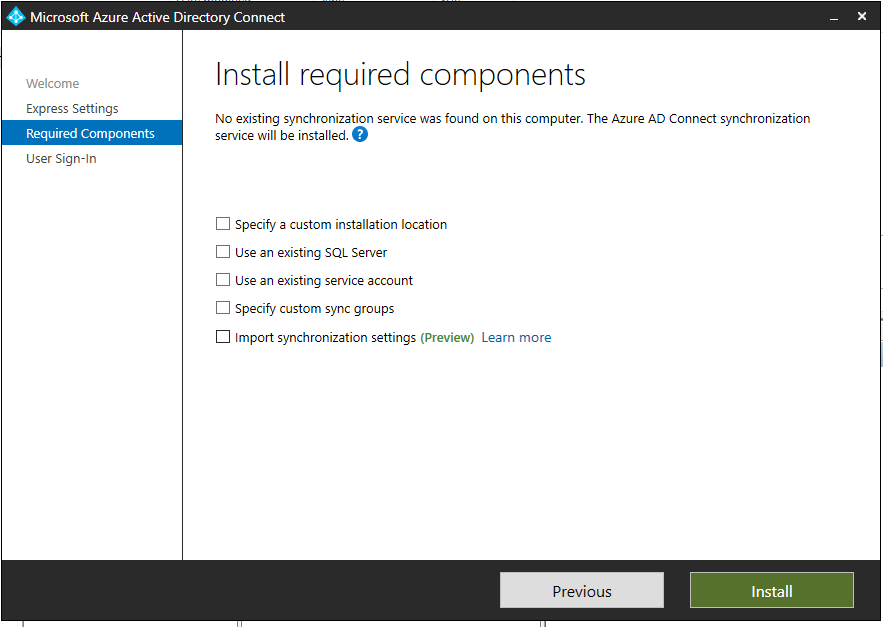
Start the installer and select “Customize”
Hit install
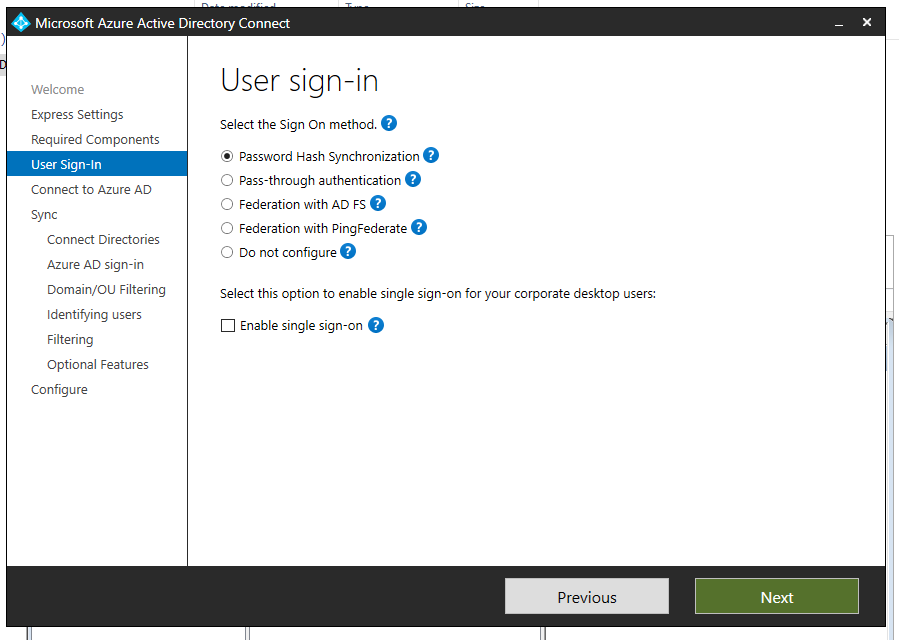
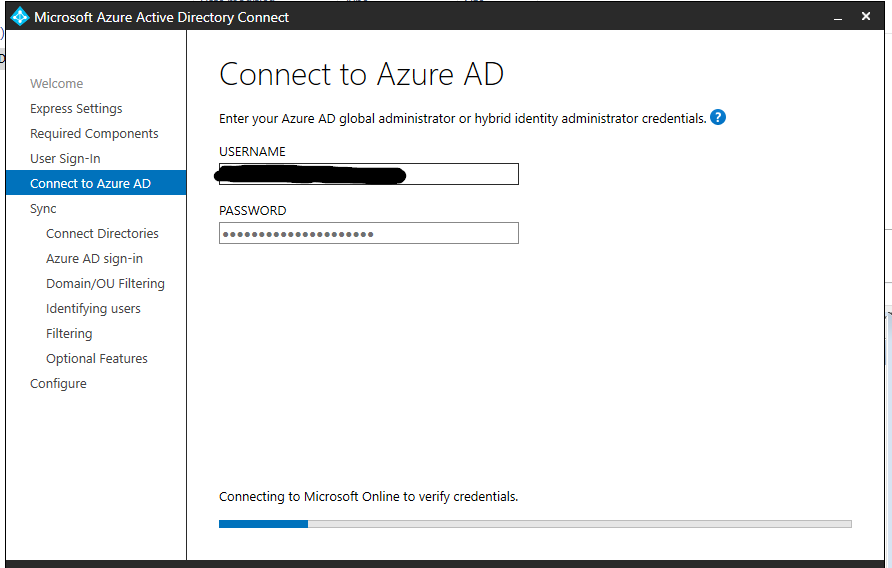
Select Password Hash Synchronization and login with your Azure AD global admin
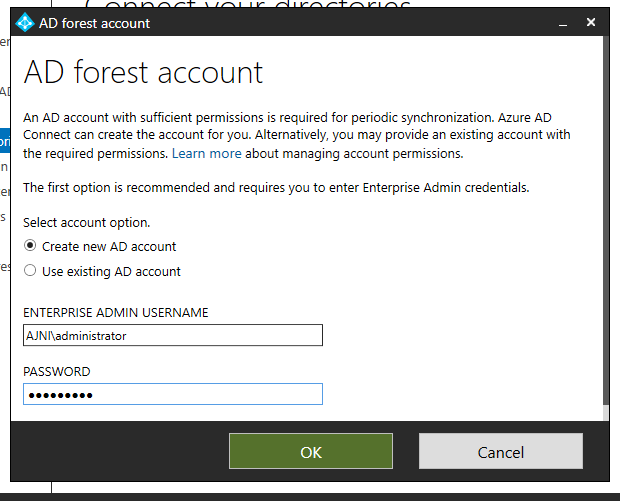
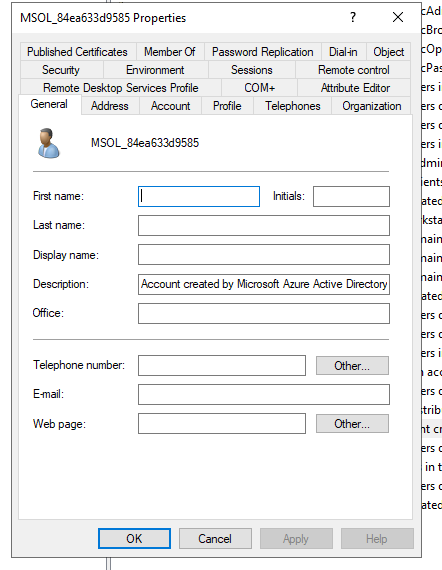
Select Create new AD Account and enter Enterprise Admin credentials. The tool will automatically set the correct permission on the OU without adding Domain Admin rights to the user.
You will notice that a new user named MSOL_xxx has been created.
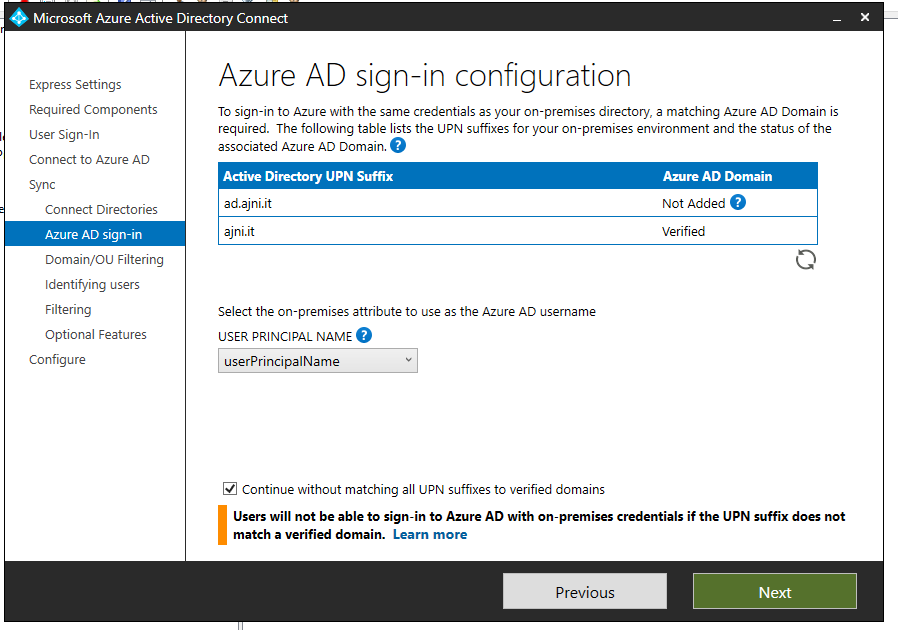
This is just a warning. We already set the correct UPN suffix.
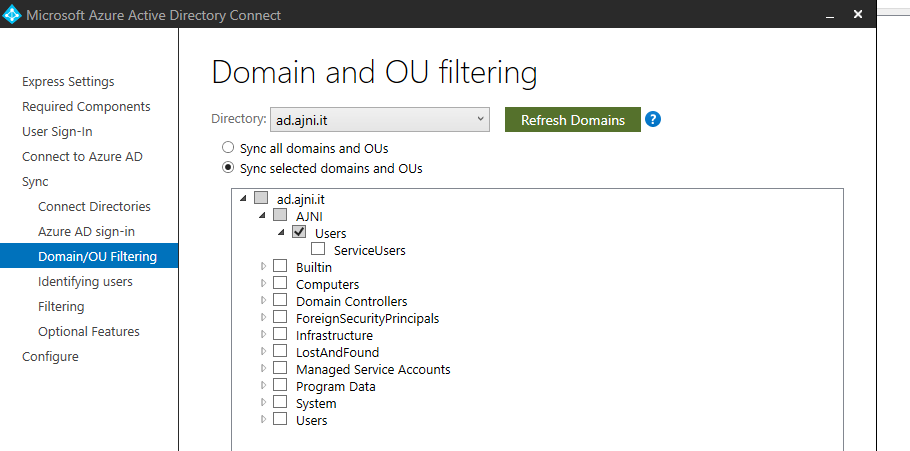
Deselect the top checkbox and select the OU containing AD Users. Service users should not be synchronized.
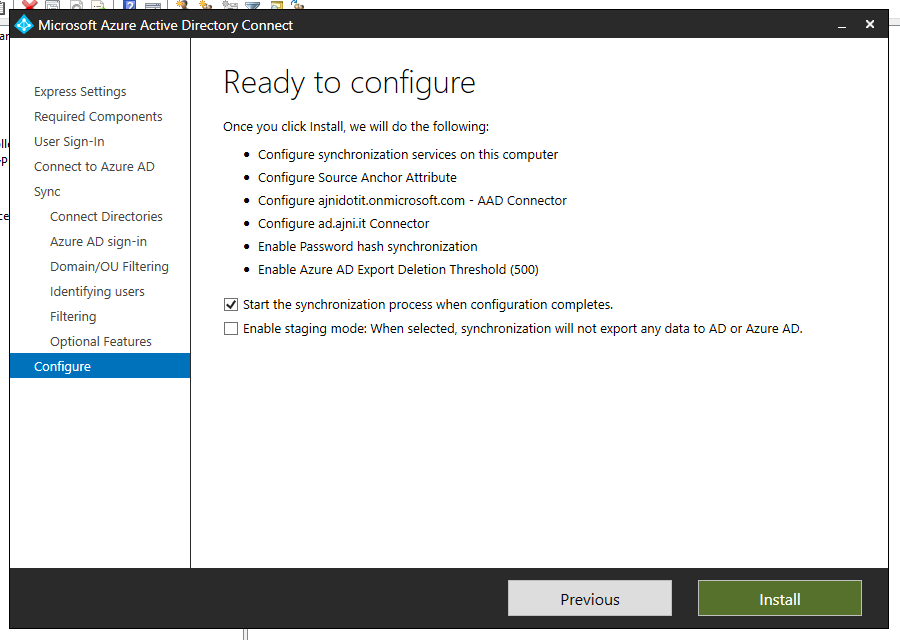
Leave everything else on default settings and then hit install.
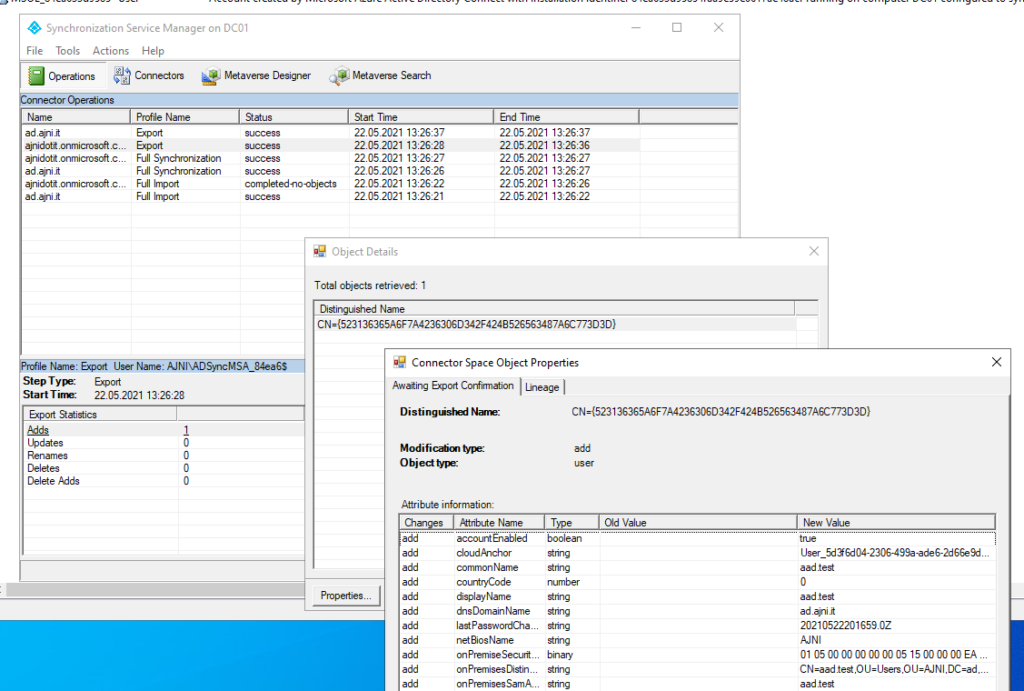
With the synchronization service you can check what objects have been synced and the last time a sync ran.
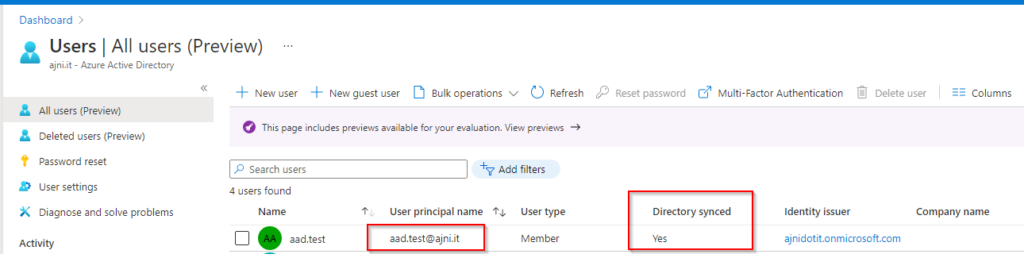
In Azure AD the synced user should show up. You can see that the correct UPN has been configured on the user.
If you want to manually start AD Sync, in Windows PowerShell enter this command:
In this day and age having an on-premise Active Directory is not mandatory, especially if you are a small and/or new organization. Most of the services will be in Microsoft 365 anyways, so why bother maintaining local AD?
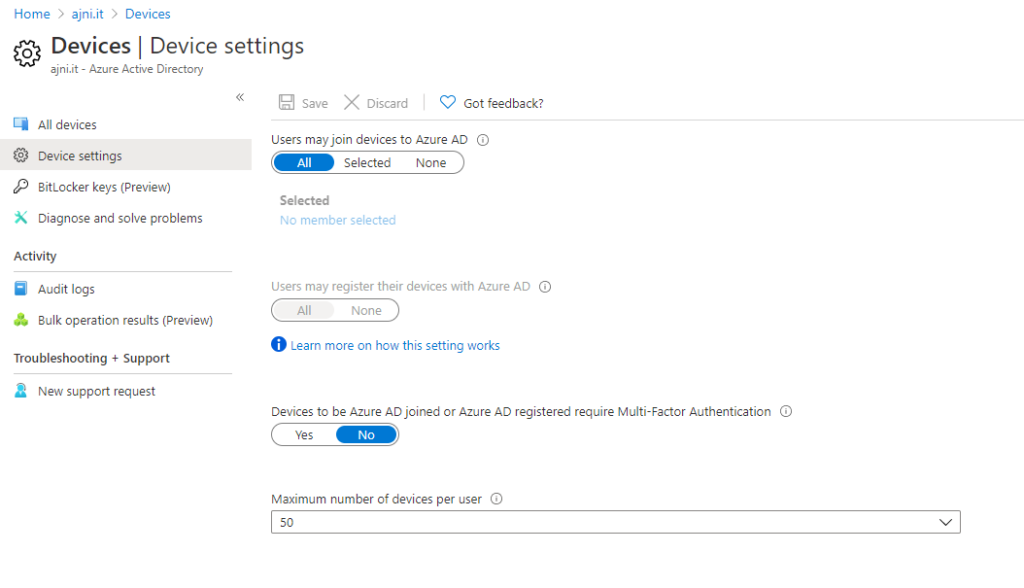
If you have an Azure Active Directory Tenant, users are allowed to join Windows 10 devices to the AAD domain by default.
In the AAD Portal, under Devices > Device Settings, settings can be adjusted to the organization’s needs.
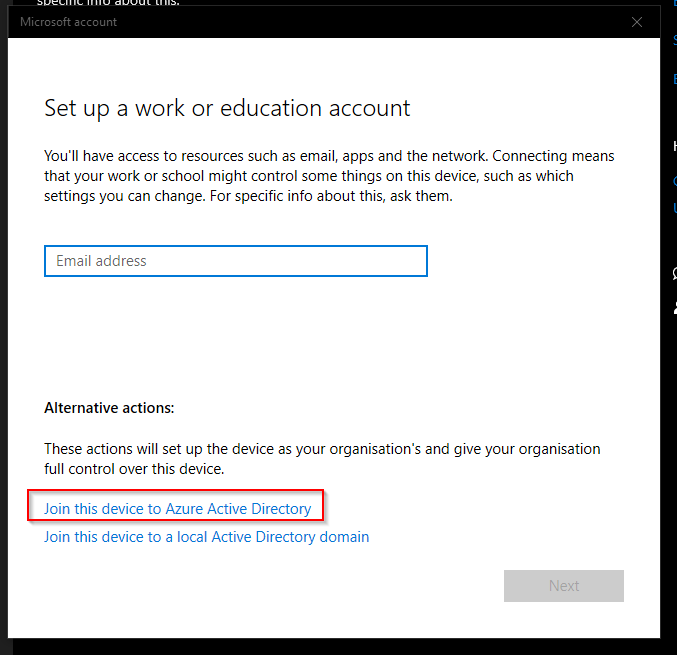
Joining the device is very easy. Just open the modern Settings app in Windows 10 > Accounts > Access work or school > + Connect. Then select Join this device to Azure Active Directory.
After logging off, any user that is a member of the tenant can log in with their email address/Azure AD account.
If you do hate passwords, this new feature from Microsoft might have solved that problem. With this feature, a user can send a push notification to Microsoft Authenticator, allowing access to any Microsoft 365 site without entering a password.
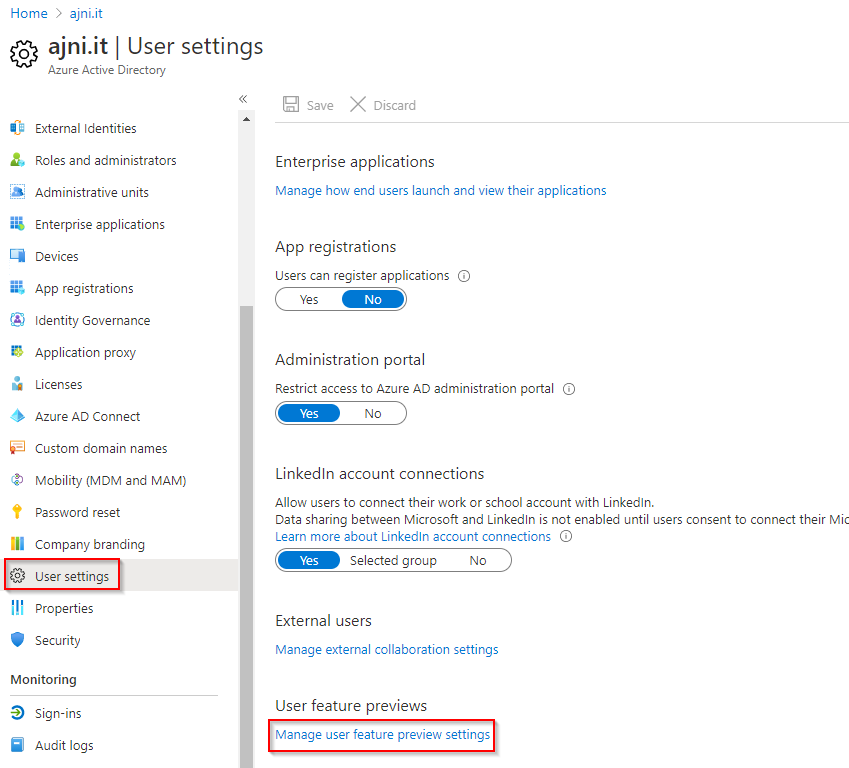
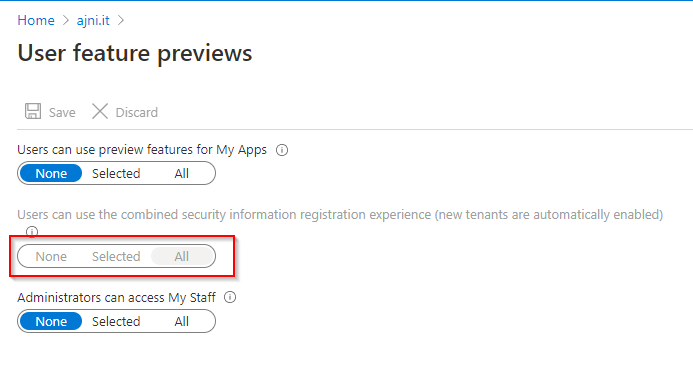
First of all, enable the so called “combined registration experience” in Azure AD under User settings.
Since I have a new tenant, the feature is automatically enabled for me.
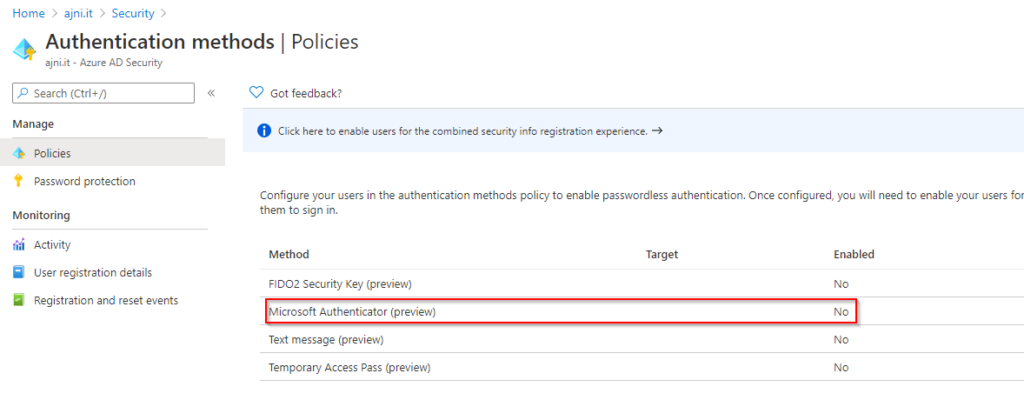
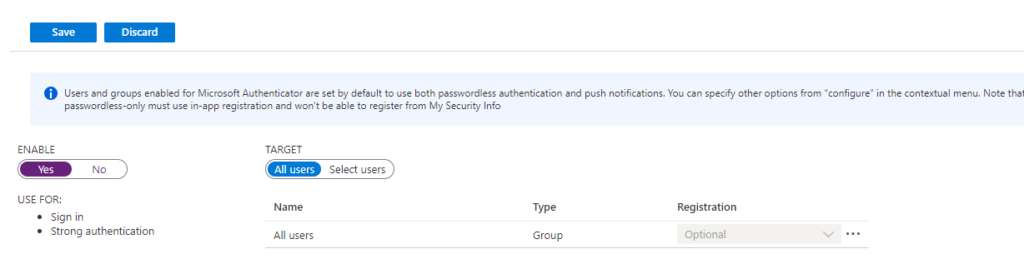
After that, browse to Security > Authentication Methods > Policies. Select Microsoft Authenticator and enable it.
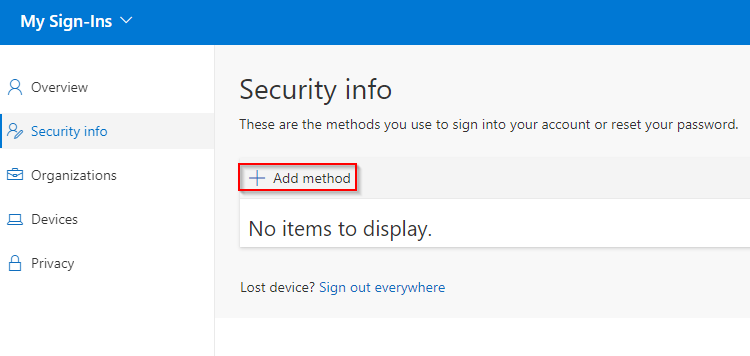
Users are not forced to use the new authentication method. They have to set that up themselves at https://aka.ms/mysecurityinfo.
Select Authenticator App as the method.
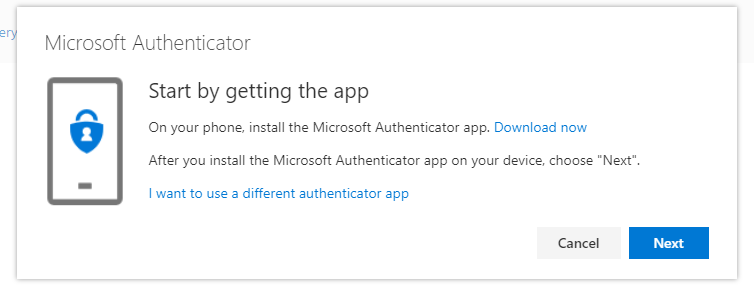
Download Microsoft Authenticator on the mobile phone.
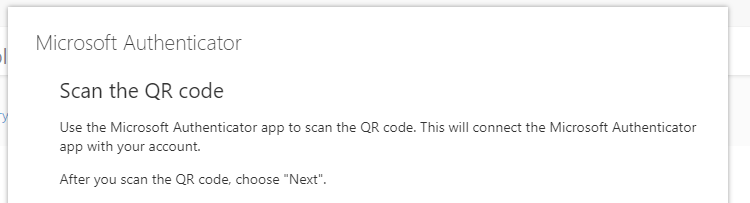
Scan the QR code shown there.
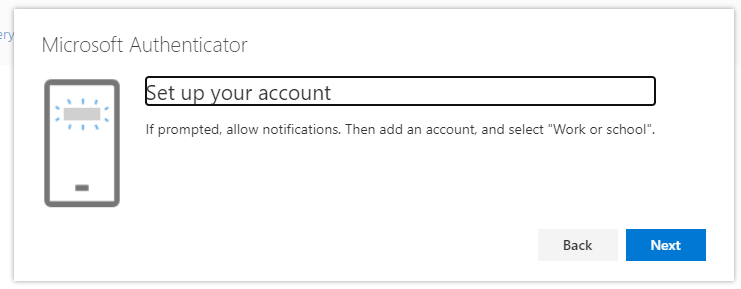
Inside the Microsoft Authenticator app, select “Set up phone sign-in” and follow the wizard.
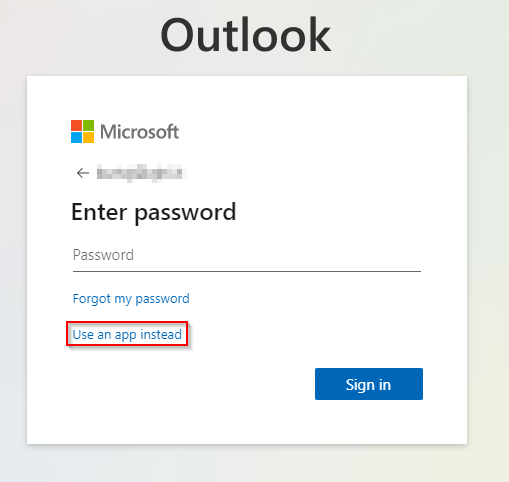
Now, upon logging in, you can select “User an app instead”. This will trigger a notification on the phone app.