Home
Microsoft 365
Linux
Windows
Powershell
Cloud Computing
    Citrix Xendesktop
    Citrix XenApp
Useful links
About
  • Home
  • Microsoft 365
  • Linux
  • Windows
  • Powershell
  • Cloud Computing
    • Citrix Xendesktop
    • Citrix XenApp
  • Useful links
  • About
ajni.IT -
Cloud Computing•Linux•Virtualization

Installing OpenVPN on Ubuntu 18.04 Minimal

March 16, 2020 by AJNI No Comments

A few days ago I bought a very cheap Virtual Private Server (VPS) – check my post here: https://www.ajni.it/2020/03/quick-tip-cheap-private-servers-on-the-cloud/

It was very cheap (4$ or 3.75€ annually), but with a lot of gotchas.

One of them is Ubuntu 18.04 Minimal, which means a lot of packages will not be pre-installed, causing a lot of pain when installing services like in my example OpenVPN.

Here is how I managed to install OpenVPN on Ubuntu 18.04 Minimal.

Updating the system:

apt update

apt upgrade

Install OpenVPN

wget https://git.io/vpn -O openvpn-install.sh && bash openvpn-install.sh

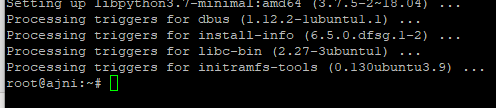
The first problem occurs with the root CA certificates:

Install the root certificates in order to trust them:

apt-get install ca-certificates

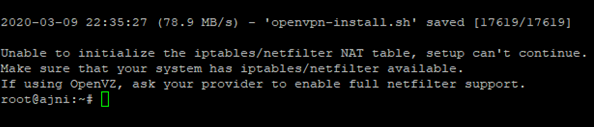
After re-running the command, another error shows up:

Install the next package (iptables):

apt-get install iptables

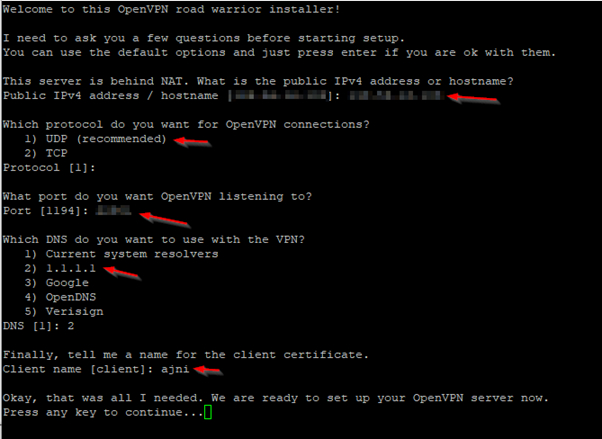
And finally, the OpenVPN setup can be run:

I had to set a custom port, because only specific ones were NAT’d to my server. You might leave the port to default. I am also using 1.1.1.1 for DNS.

After the setup is finished, a configuration file will be created. This file contains the public certificates and private key that are mandatory for the connection. It can be imported into the OpenVPN client (Windows) through the GUI.

On Linux, a simple

openvpn configfile.ovpn

does the trick.

If you are looking for a VPS with good performance, check out Evolution Host at https://evolution-host.com/vps-hosting.php.
They offer virtual servers starting at 5€ per month.

Reading time: 1 min
Cloud Computing•Linux•Virtualization

Configure SSH Key-Based Authentication on a Linux System

March 10, 2020 by AJNI No Comments

By default, Linux systems allow both password-based and key-based authentication over SSH. If you have a server with SSH open to the world, password-based authentication shouldn’t be allowed at all.

To disable password-based authentication, edit the SSH config file:

nano /etc/ssh/sshd_config

Add the following lines:

PasswordAuthentication no

PubkeyAuthentication yes

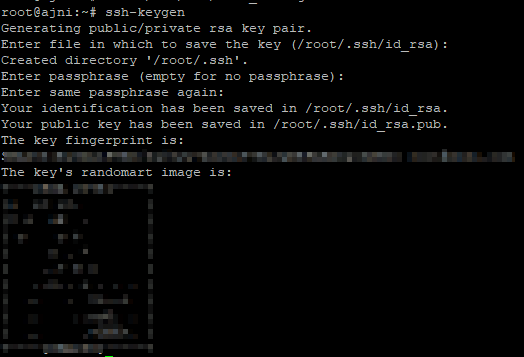
Now generate a new private/public key pair:

ssh-keygen

id_rsa is your private key

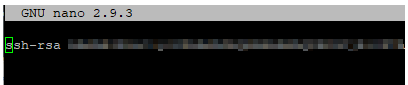
id_rsa.pub is the public certificate thumbprint that must be added to ~/.ssh/authorized_keys

nano ~/.ssh/authorized_keys

The SSH service must be restarted.

service ssh restart

Now you can connect to your server with key-based authentication only. If connecting from a Linux system the file’s permissions must be set to 600.

chmod 600 id_rsa

ssh -i id_rsa ip@username

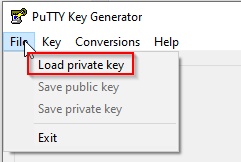
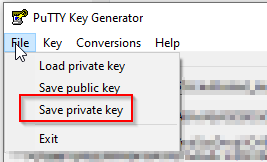
If you like using Putty, you’ll have to load the file with PuttyGen and save the private key as .ppk.

PuttyGen can be downloaded here: https://www.chiark.greenend.org.uk/~sgtatham/putty/latest.html

Links:

https://askubuntu.com/questions/346857/how-do-i-force-ssh-to-only-allow-users-with-a-key-to-log-in

Reading time: 1 min
Cloud Computing•Linux•Virtualization

Cheap private servers on the Cloud

March 9, 2020 by AJNI No Comments

Today I stumbled upon this very useful site that helps you find very cheap virtual private servers (VPS) around the globe. The public IPv4 address is shared and NAT’d across multiple servers. If that’s no problem for you, the cheapest servers are 0.15€ a month with 128MB RAM and 1 vCPU.

Also, some public IP addresses are blocked in China and/or Russia.

Have fun!

https://www.serverhunter.com/

Reading time: 1 min
Windows•Windows Client OS

Enabling Bitlocker Drive Encryption without a TPM chip

March 7, 2020 by AJNI No Comments

I was trying to enable Bitlocker on my C: drive, but unfortunately my PC does not have a physical TPM chip built-in. Turns out there is a way to enable Bitlocker Drive Encryption without the TPM chip with help of Group Policies.

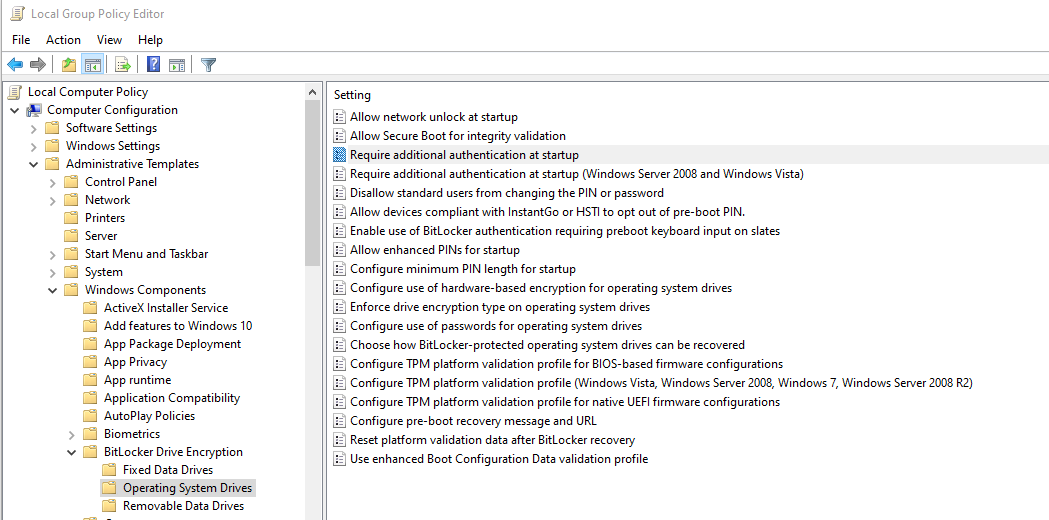
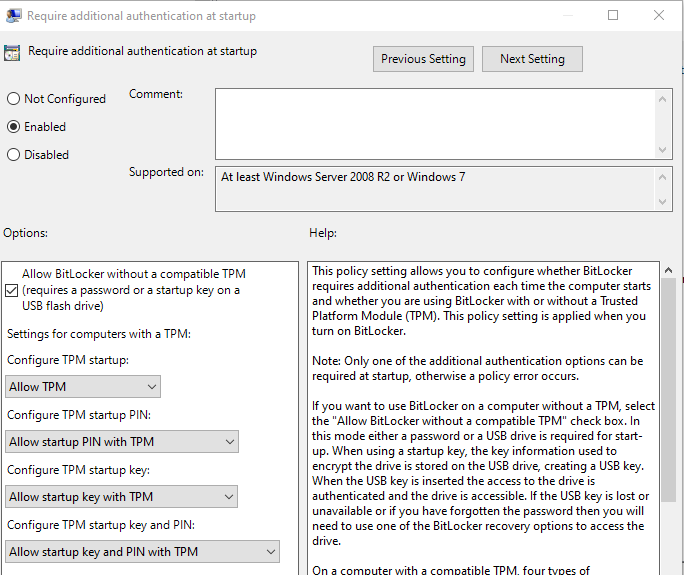
Open Local Group Policies (gpedit.msc) > Administrative Templates > Windows Components > Bitlocker Drive Encryption > Operating System Drives > Require additional authentication at starutp

Enable this Policy and leave the default settings.

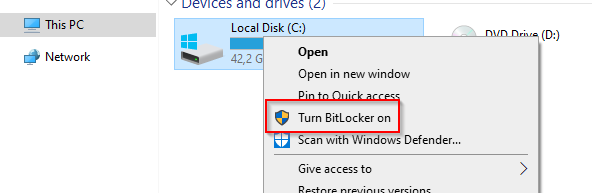
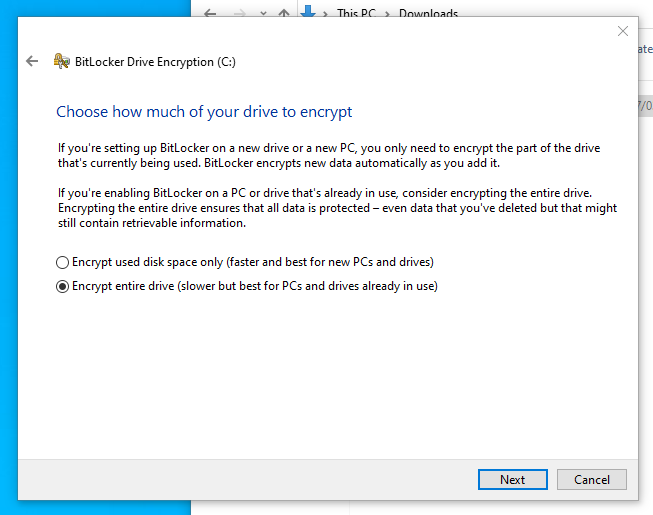
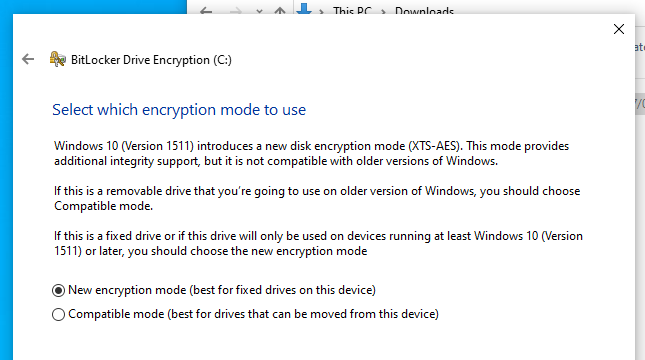
Now in Windows Explorer, Bitlocker can be turned on:

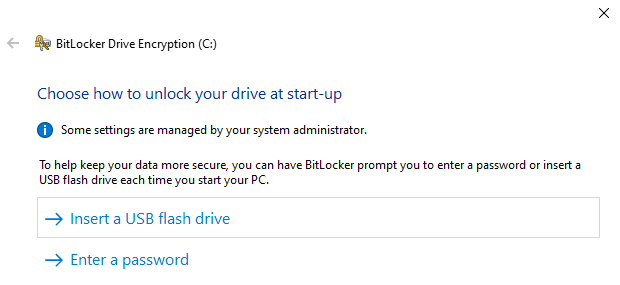
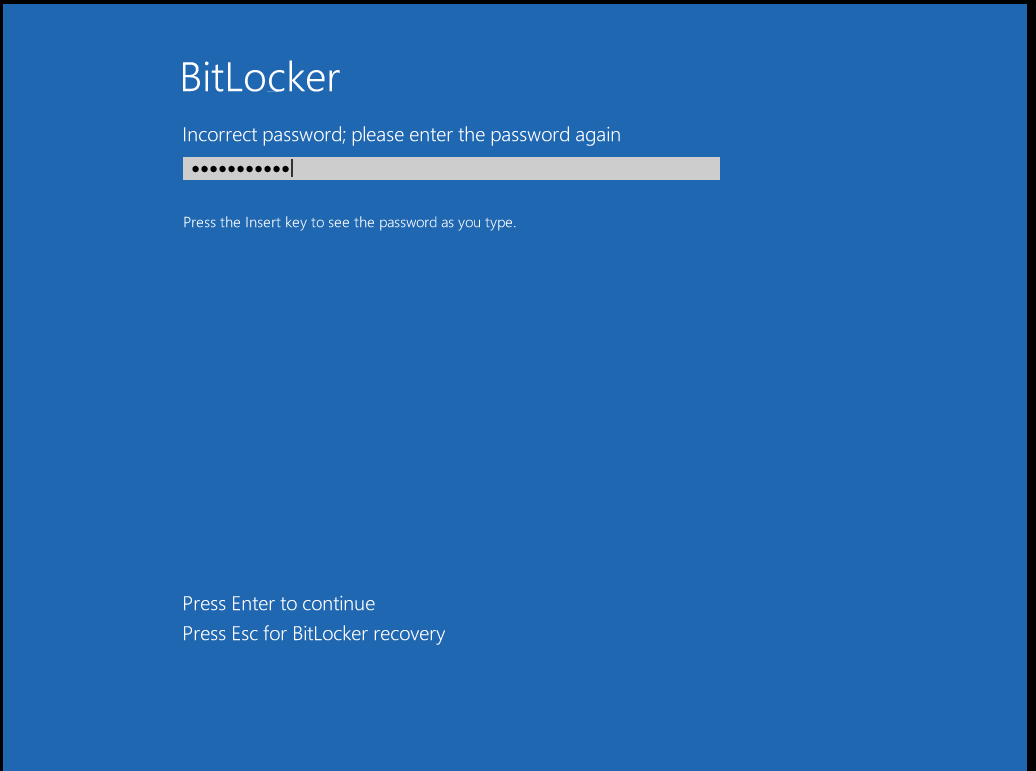
Because there is no TPM chip available, we either have the option to enter a password every time the OS boots or unlock the drive with a USB flash drive.

There are a few options for saving the recovery key. If you save it to your Microsoft Account, it can be accessed on this Microsoft site: https://account.microsoft.com/devices/recoverykey

Select the first option if you just re-installed Windows.

New should be better right?

Your PC will be restarted.

At boot, this is the prompt you’ll get:

Don’t forget to secure your Bitlocker Recovery Key just in case something breaks. You’ll need that long string.

Links:

https://support.microsoft.com/en-us/help/4530477/windows-10-finding-your-bitlocker-recovery-key

https://www.howtogeek.com/192894/how-to-set-up-bitlocker-encryption-on-windows/

Reading time: 1 min
Cloud Computing•VDI•Windows•Windows Client OS

Remote Desktop Services (RDS) on Windows Server 2019

March 1, 2020 by AJNI No Comments

I got tasked with installing a brand new Windows Server 2019 with the Remote Desktop Services (RDS) role. It was a pretty straightforward installation, but minor things might work differently compared to previous versions of Windows Server (I was migrating off Windows Server 2012 R2).

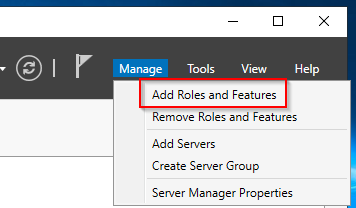
Start by adding the RDS role through Server Manager.

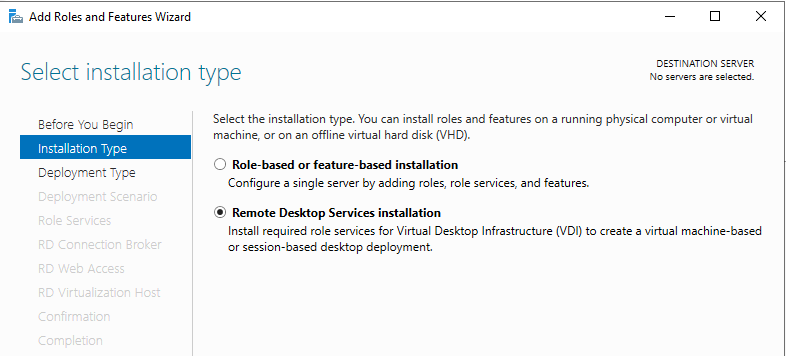
Select the RDS installation:

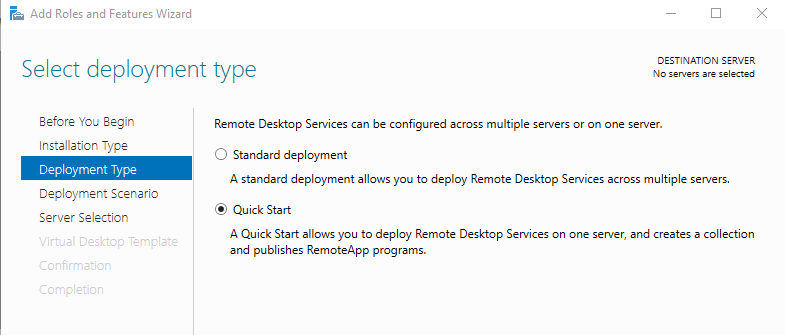
I went for the Quick Start because my deployment is fairly basic.

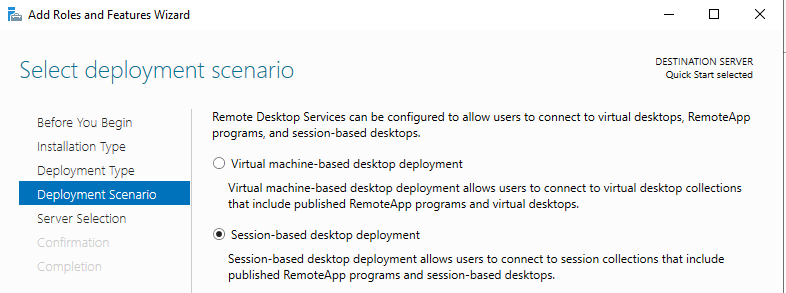
Session-based deployment enables multi-session support on the server.

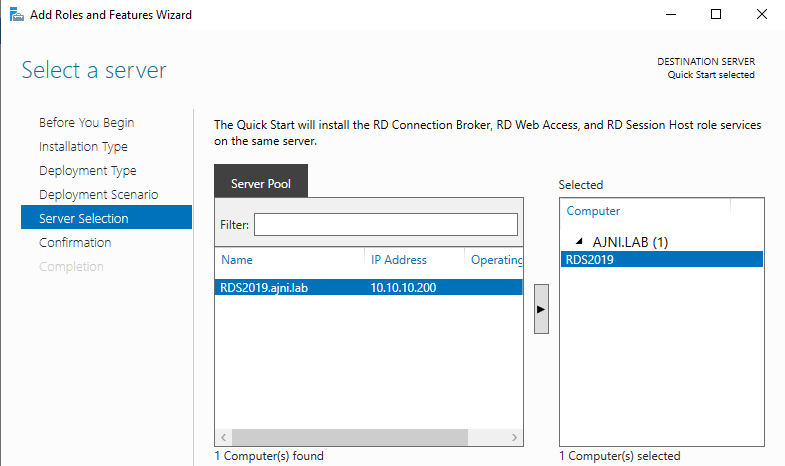
The server should be automatically selected.

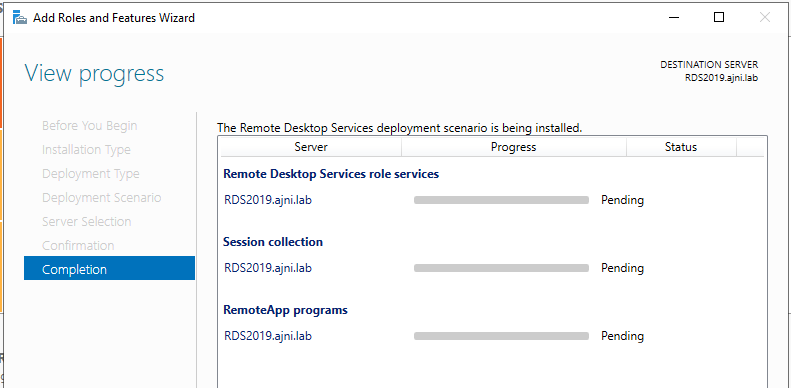
The three roles (RD Connection Broker, RD Web Access and RD Session Host) will be installed.

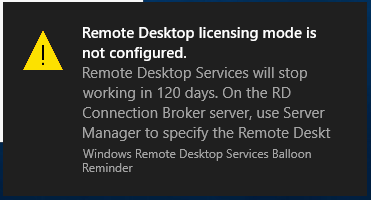
After the installation a license warning will be shown in the Notification Center.

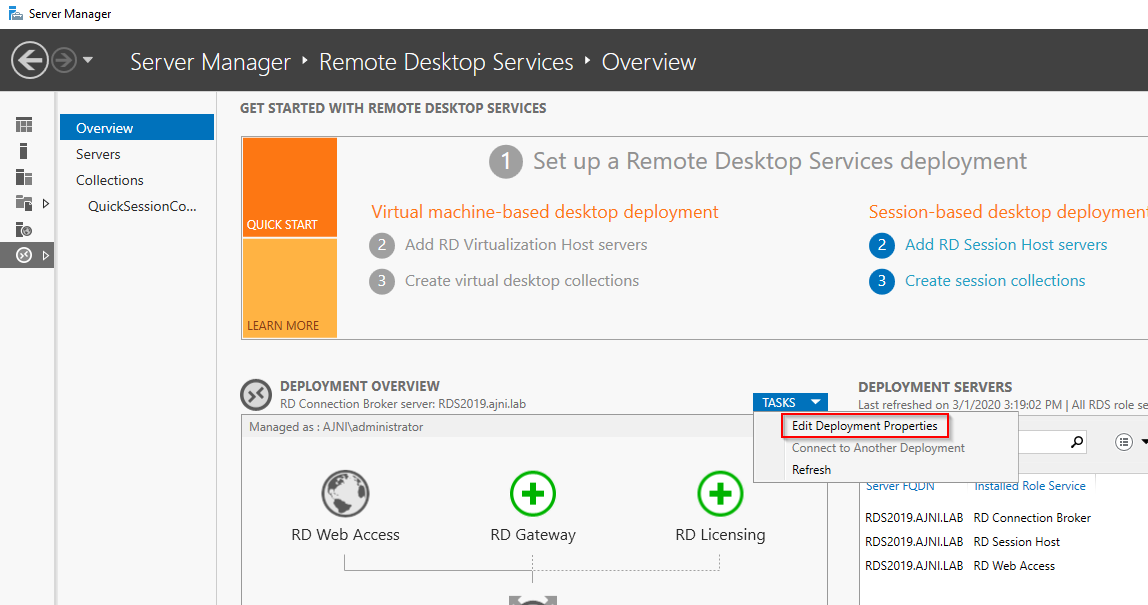
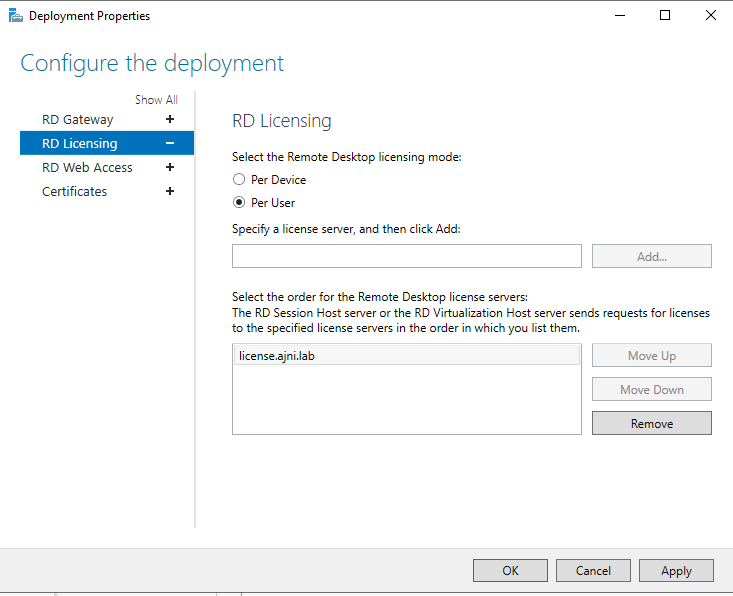
Two things are needed in order for licensing to work properly: The license server and licensing mode.
In a production environment, usually there is a separate server hosting the RDS Licensing service.

Server Manager > Remote Desktop Services > Overview > Tasks > Edit Deployment properties

I had problems with the licensing mode not being applied properly. This registry key worked wonderfully though:

HKEY_LOCAL_MACHINE\SYSTEM\CurrentControlSet\Control\Terminal Server\RCM\Licensing Core
DWORD LicensingMode
4 = Per user
2 = Per Device

The license server can be also set through the registry:

HKEY_LOCAL_MACHINE\SYSTEM\CurrentControlSet\Services\TermService\Parameters\LicenseServers
REG_MULTI_SZ SpecifiedLicenseServers = license.ajni.lab

With RD Licensing Diagnoser you can check for potential errors (can be opened through Server Manager > Tools > Remote Desktop Services).

Now on to the last step: Create a custom device collection.

Server Manager > Remote Desktop Services > Collections > Tasks > Create Session Collection

This is also pretty straight forward stuff.


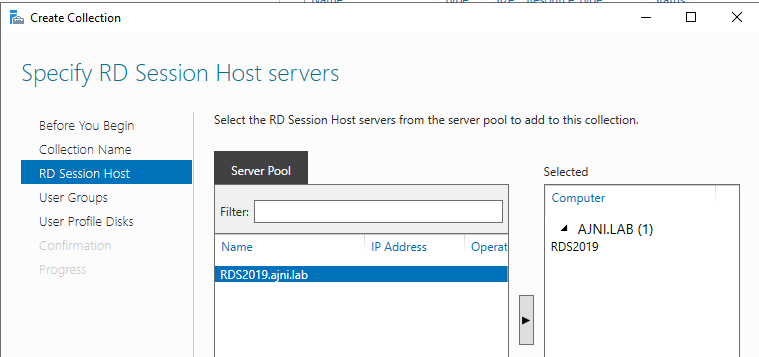
Make sure you select the server by moving it to the right with the arrow.

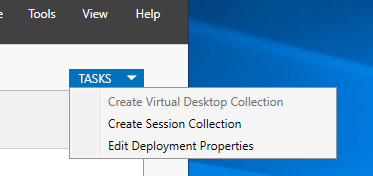
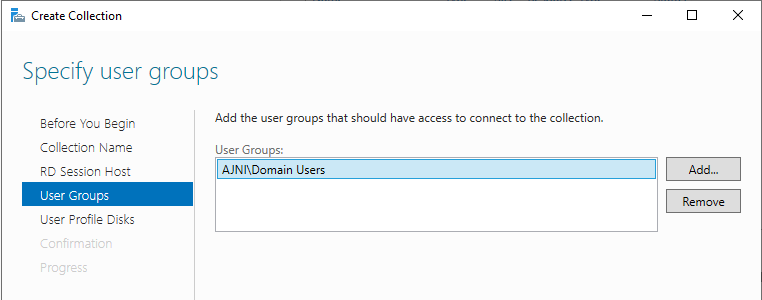
In a production environment a custom group should be used to control the number of permitted users.

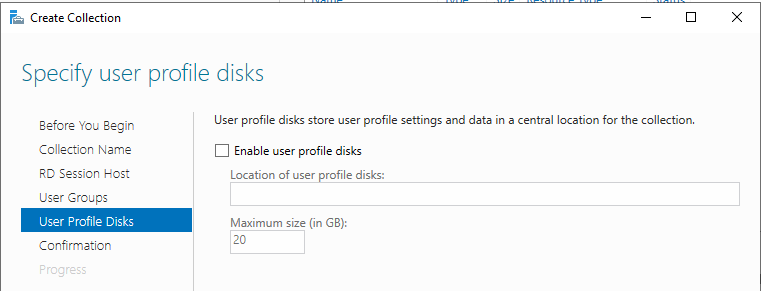
User profile disks were not needed in my environment.


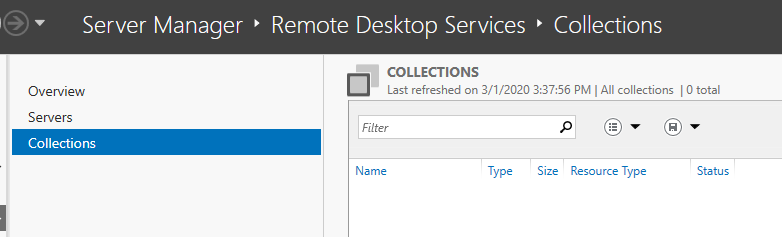
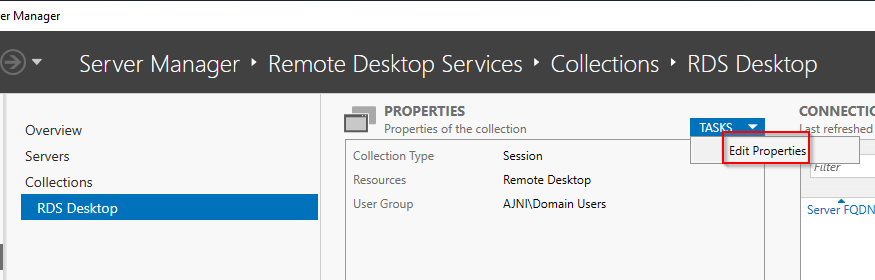
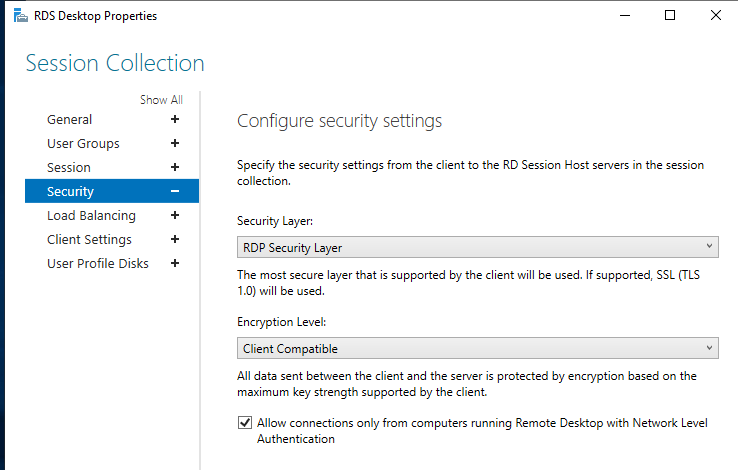
After the creation, there are some things that should be changed in the Collection properties (Server Manager > Remote Desktop Services > Collections > Collection Name):

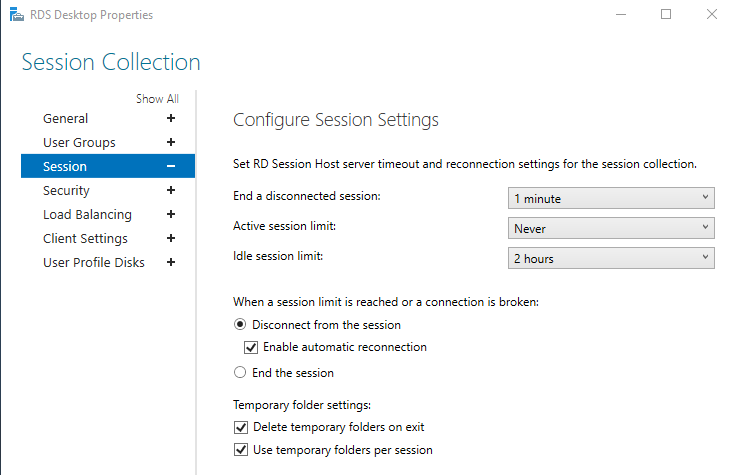
These are my specific settings, you should change the parameters based on your experience or leave them at their default values.

Older clients might have problems with these security settings (like Network Level Authentication – NLA)

Do not forget to apply the changes.

Bonus:

If you have specific AD user attributes, like the home folder or program auto-start, they will not work because of changes made to RDS 2016/2019. You can read this article from Microsoft’s website: https://support.microsoft.com/en-us/help/3200967/changes-to-remote-connection-manager-in-windows-server

Following registry entries will tell the Remote Desktop Session Host (RDSH) to query AD DS for RDP profile settings:

HKEY_LOCAL_MACHINE\SOFTWARE\Policies\Microsoft\Windows NT\Terminal Services
Name: fQueryUserConfigFromDC
Type: Reg_DWORD
Value: 1

HKEY_LOCAL_MACHINE\SYSTEM\CurrentControlSet\Control\Terminal Server\WinStations\RDP-tcp
Name: fQueryUserConfigFromDC
Type: Reg_DWORD

Reading time: 2 min

Like what you are reading? Buy me a coffee.

Tip Of the Day

  • Add Alias to Windows Fileserver (Server 2019, 2022, 2025)

    1 month ago

Keep in touch

Oh hi there!
It’s nice to meet you.

Sign up to receive awesome content in your inbox, every month.

Check your inbox or spam folder to confirm your subscription.

Categories

  • AI & Deep Learning (1)
  • Azure (20)
  • Citrix XenApp (21)
  • Citrix Xendesktop (13)
  • Cloud Computing (40)
  • Coding (1)
  • Hyper-V (10)
  • Linux (8)
  • Microsoft 365 (26)
  • Powershell (21)
  • Security (7)
  • VDI (16)
  • Virtualization (21)
  • VMware (12)
  • Windows (21)
  • Windows Client OS (39)
  • Windows Server (92)

Archives

  • May 2025
  • April 2025
  • February 2025
  • January 2025
  • December 2024
  • November 2024
  • October 2024
  • September 2024
  • July 2024
  • June 2024
  • May 2024
  • April 2024
  • March 2024
  • February 2024
  • January 2024
  • December 2023
  • September 2023
  • August 2023
  • July 2023
  • June 2023
  • April 2023
  • March 2023
  • January 2023
  • December 2022
  • November 2022
  • October 2022
  • September 2022
  • August 2022
  • July 2022
  • June 2022
  • May 2022
  • February 2022
  • January 2022
  • December 2021
  • November 2021
  • October 2021
  • September 2021
  • August 2021
  • June 2021
  • May 2021
  • April 2021
  • March 2021
  • February 2021
  • December 2020
  • November 2020
  • September 2020
  • August 2020
  • July 2020
  • June 2020
  • May 2020
  • April 2020
  • March 2020
  • February 2020
  • November 2019
  • October 2019
  • September 2019
  • August 2019
  • July 2019
  • June 2019
  • May 2019
  • April 2019
  • March 2019

ajni IT © 2019